Who doesn’t love snail mail that isn’t a bill or a random flyer?! I absolutely love getting and sending mail, there’s something a little old fashioned about sending someone a handwritten card. We live in the day where a quick text could do, but showing time and effort writing things out and sending them off is just something special. Which brings me to Christmas cards!
Do you send Christmas cards out or receive them? It seems as though amongst the younger generation cards aren’t really a thing anymore but I used to love seeing the cards pour in during the season. It really does bring an element of joy.
When Shaun and I had our first Christmas together, I sent them out to all of our and family and friends but then forgot to the second and third year – oooooops. But this year, we’re getting back on track and sending them out again.
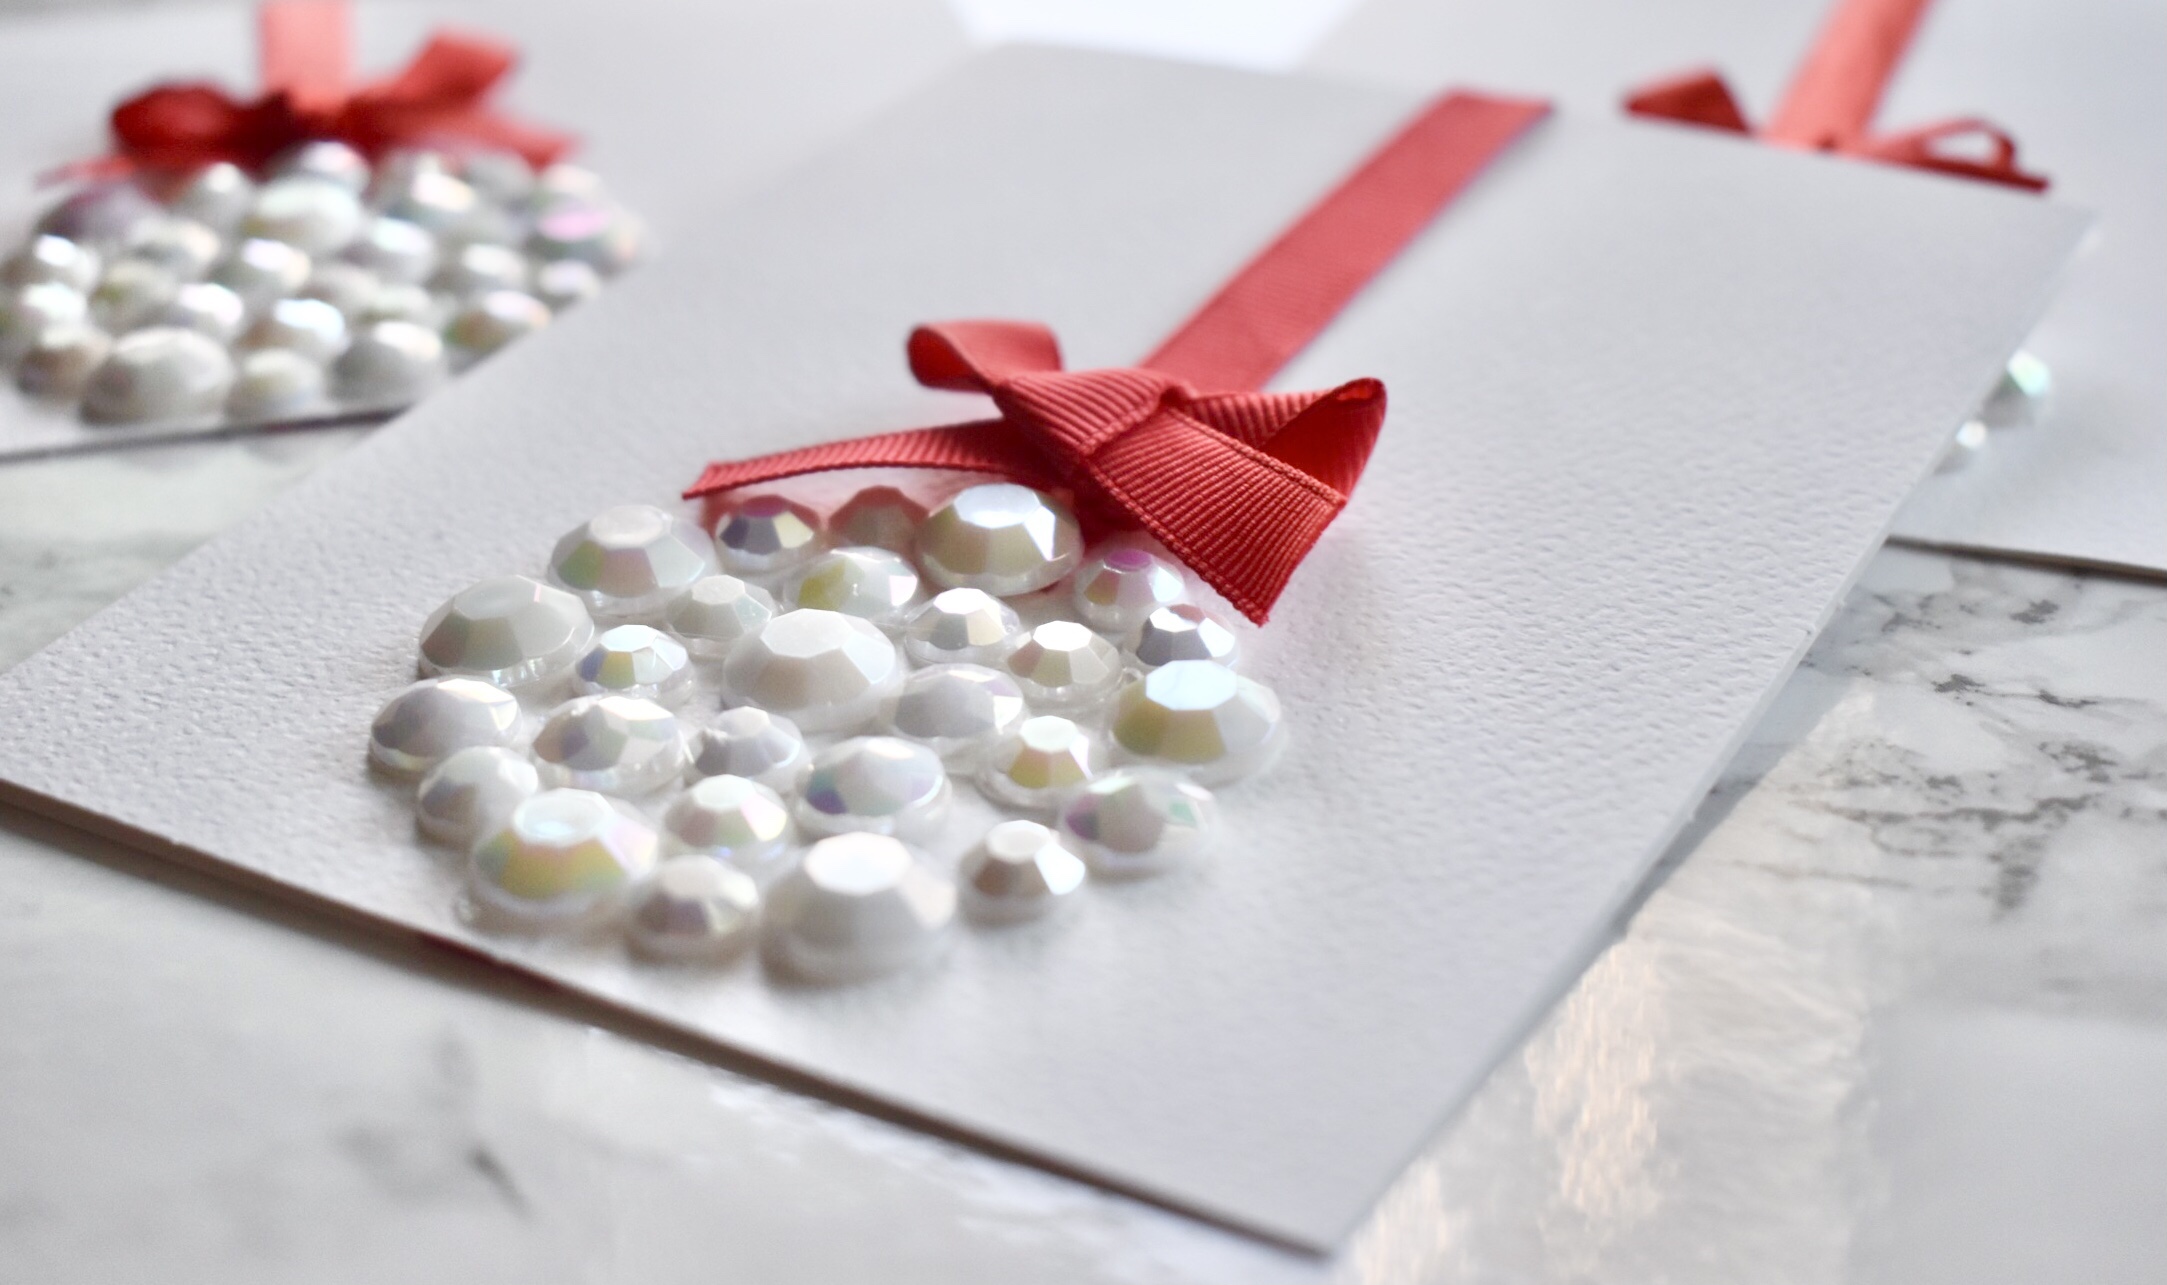
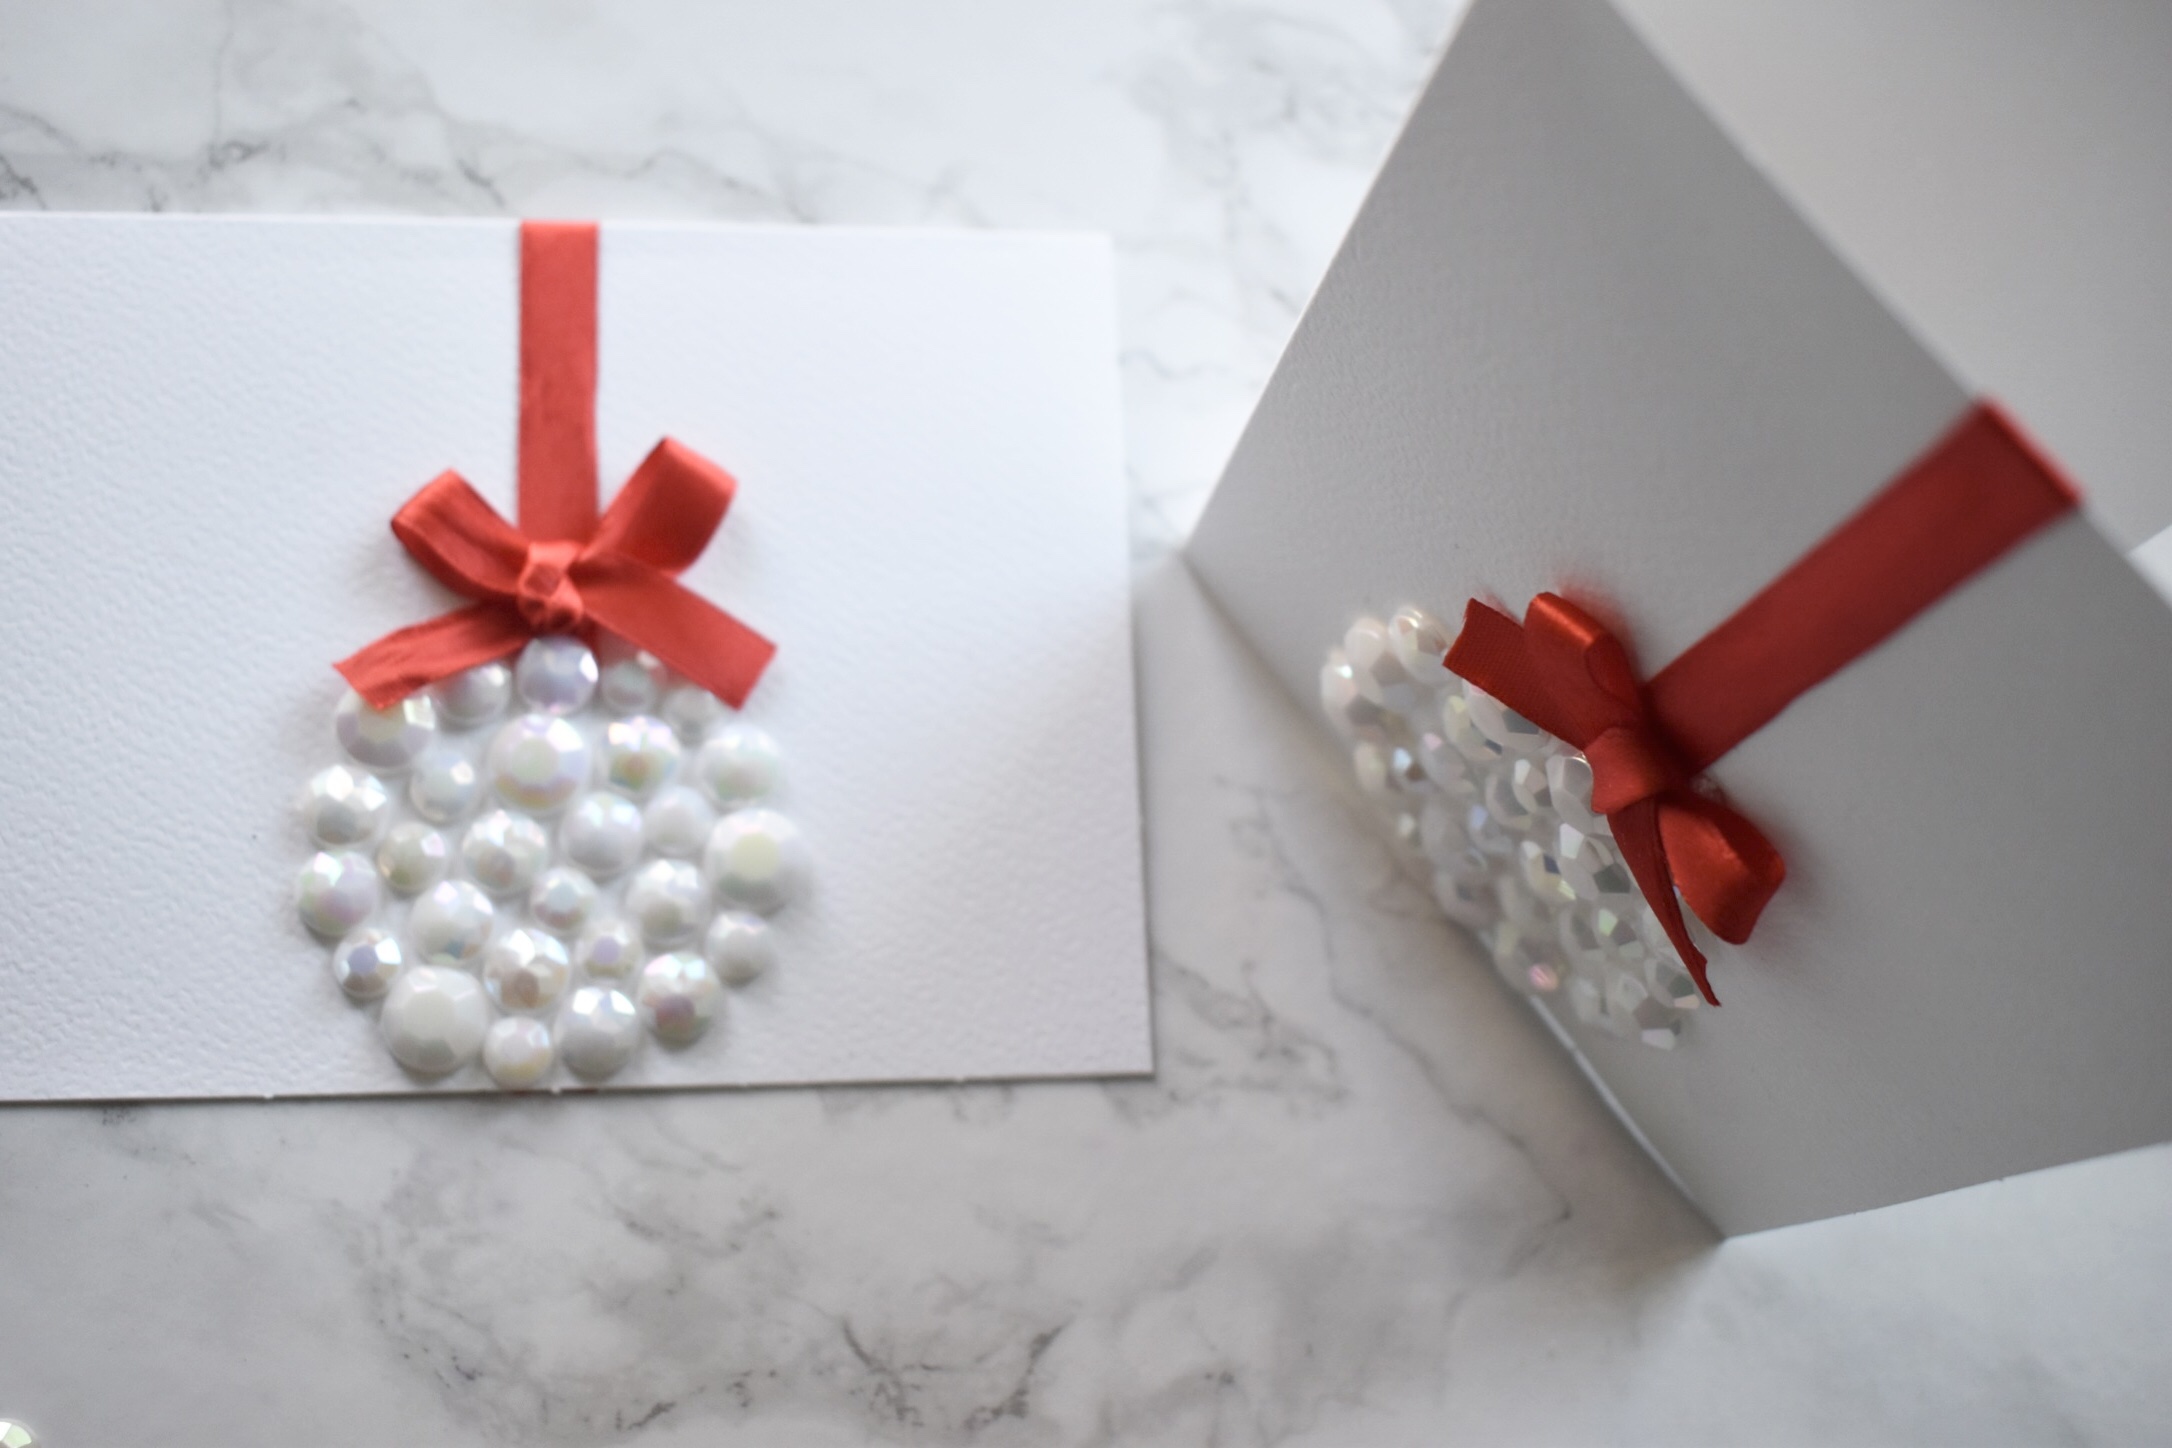
Check out the cards I made to send out this year! I’m sharing how I did them with you on the blog today so maybe give you a little DIY spark to make your own, too.
Getting Started on Your Cards
1. Searched Pinterest for Inspo
As creative as I like to think I am, I still dive into Pinterest to get some inspiration. That place is a gold mine for ideas. Once I found something I liked, I began to plot where I’d get all my items.
2. I went to Michaels’ (with my mask on of course), and perused the isles to see what I could find and make work. Here’s what you’ll need for the cards I made:
-Blank cards and envelops
-Whatever colour pearl you like, I opted for the ivory (Michaels also had sticker versions of these with the different sizes as well but to be cost effective, I bought the same ones but that need to be glued on. If you’re more about the convenience though, I’d definitely opt for the sticker version!) These are the ones I used.
-Ribbon (I used what I already had at home but you’ll need it if you don’t)
-Glue gun
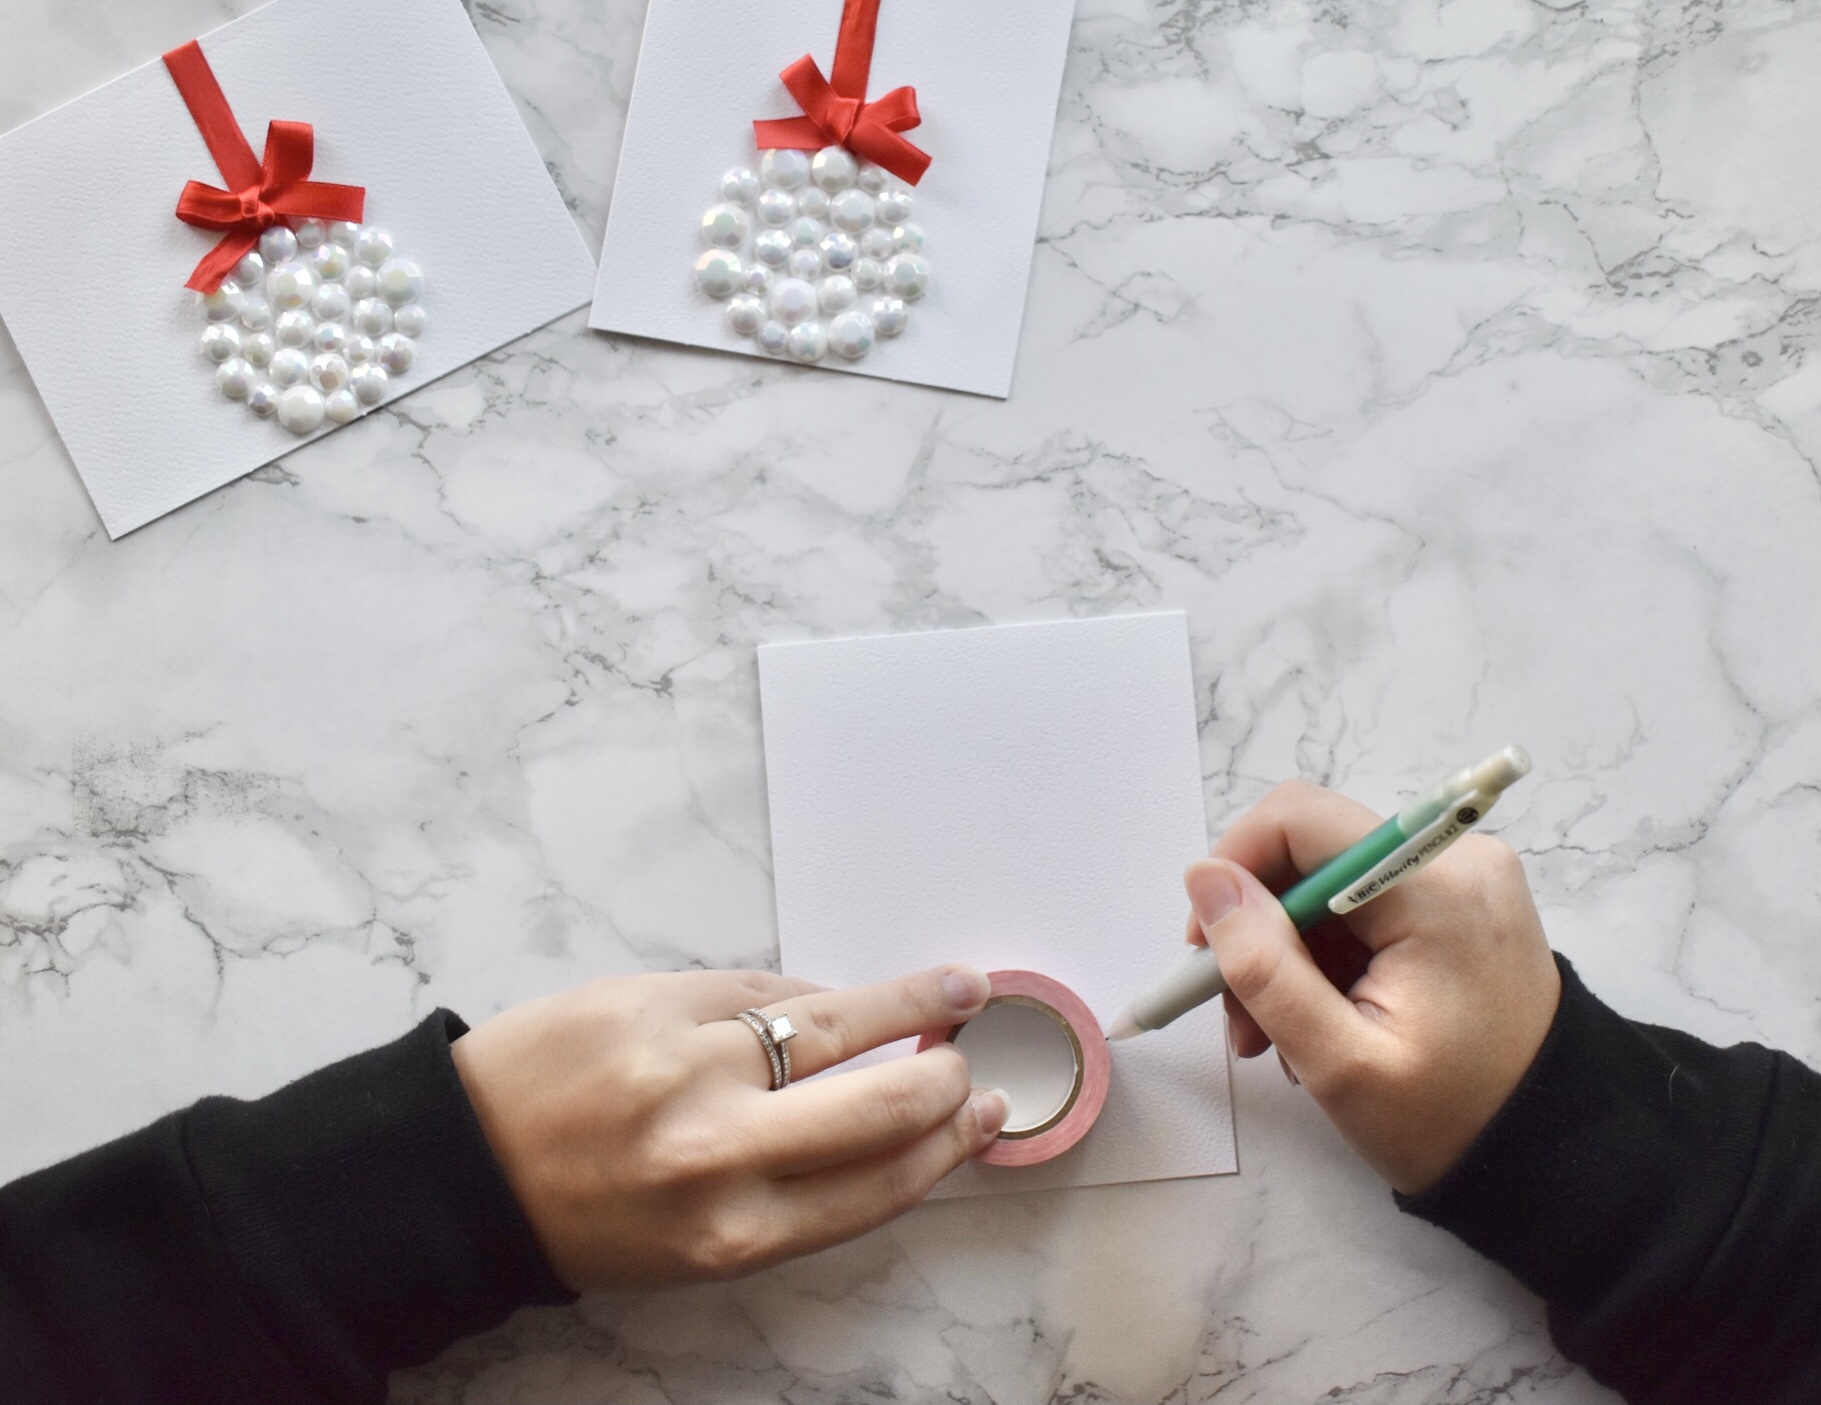
3. You’ll also need a small circle of something to trace – unless you can freehand a perfect circle. I for one, turn my circles into eggs so a washie tape roll made a great size for the ornament.
How to Put It All Together
4. Once the circle is traced, roughly place the pearls in the circle to see how they would look. Once I liked my placement of them, I went ahead and started gluing. Be sure to place the ones on the outside right on the traces of the line otherwise you’ll have your pencil marks show.


5. For the top pearl, I glued the ribbon underneath and then glued the pearl on top. After it was secured, I pulled the ribbon tight to the top, ran it to the back of the card for a little detail there, too.


6. I also opted to do some cards vertically and some horizontal. After all, you’re in charge, so let yourself run with it.
7. That’s it! Now you’re ready to give them a message and send them off. I absolutely loved how they turned out, they’re definitely super cute.
Do you send out Christmas cards or is it a thing of the past for you?
Did you catch yesterday’s blogmas post? If not, it’s all about the classic Christmas movies and you can check it out here!
