My final DIY for blogmas is here! This one is super cute and again, easy to do.
Ever thought about making your own Christmas tree ornaments? This one’s for you!
These were very inexpensive and were the perfect little addition to our tree. This is also a great idea for kids because they can proudly hand their artwork on the tree!
Here’s What You’ll Need:
-Clear, plastic ornaments. I bought these ones from the dollar store that were very cost effective, but Michaels has some too
-Paint – I used acrylic
-Cups to let them dry in
How to Make Your Own Ornaments
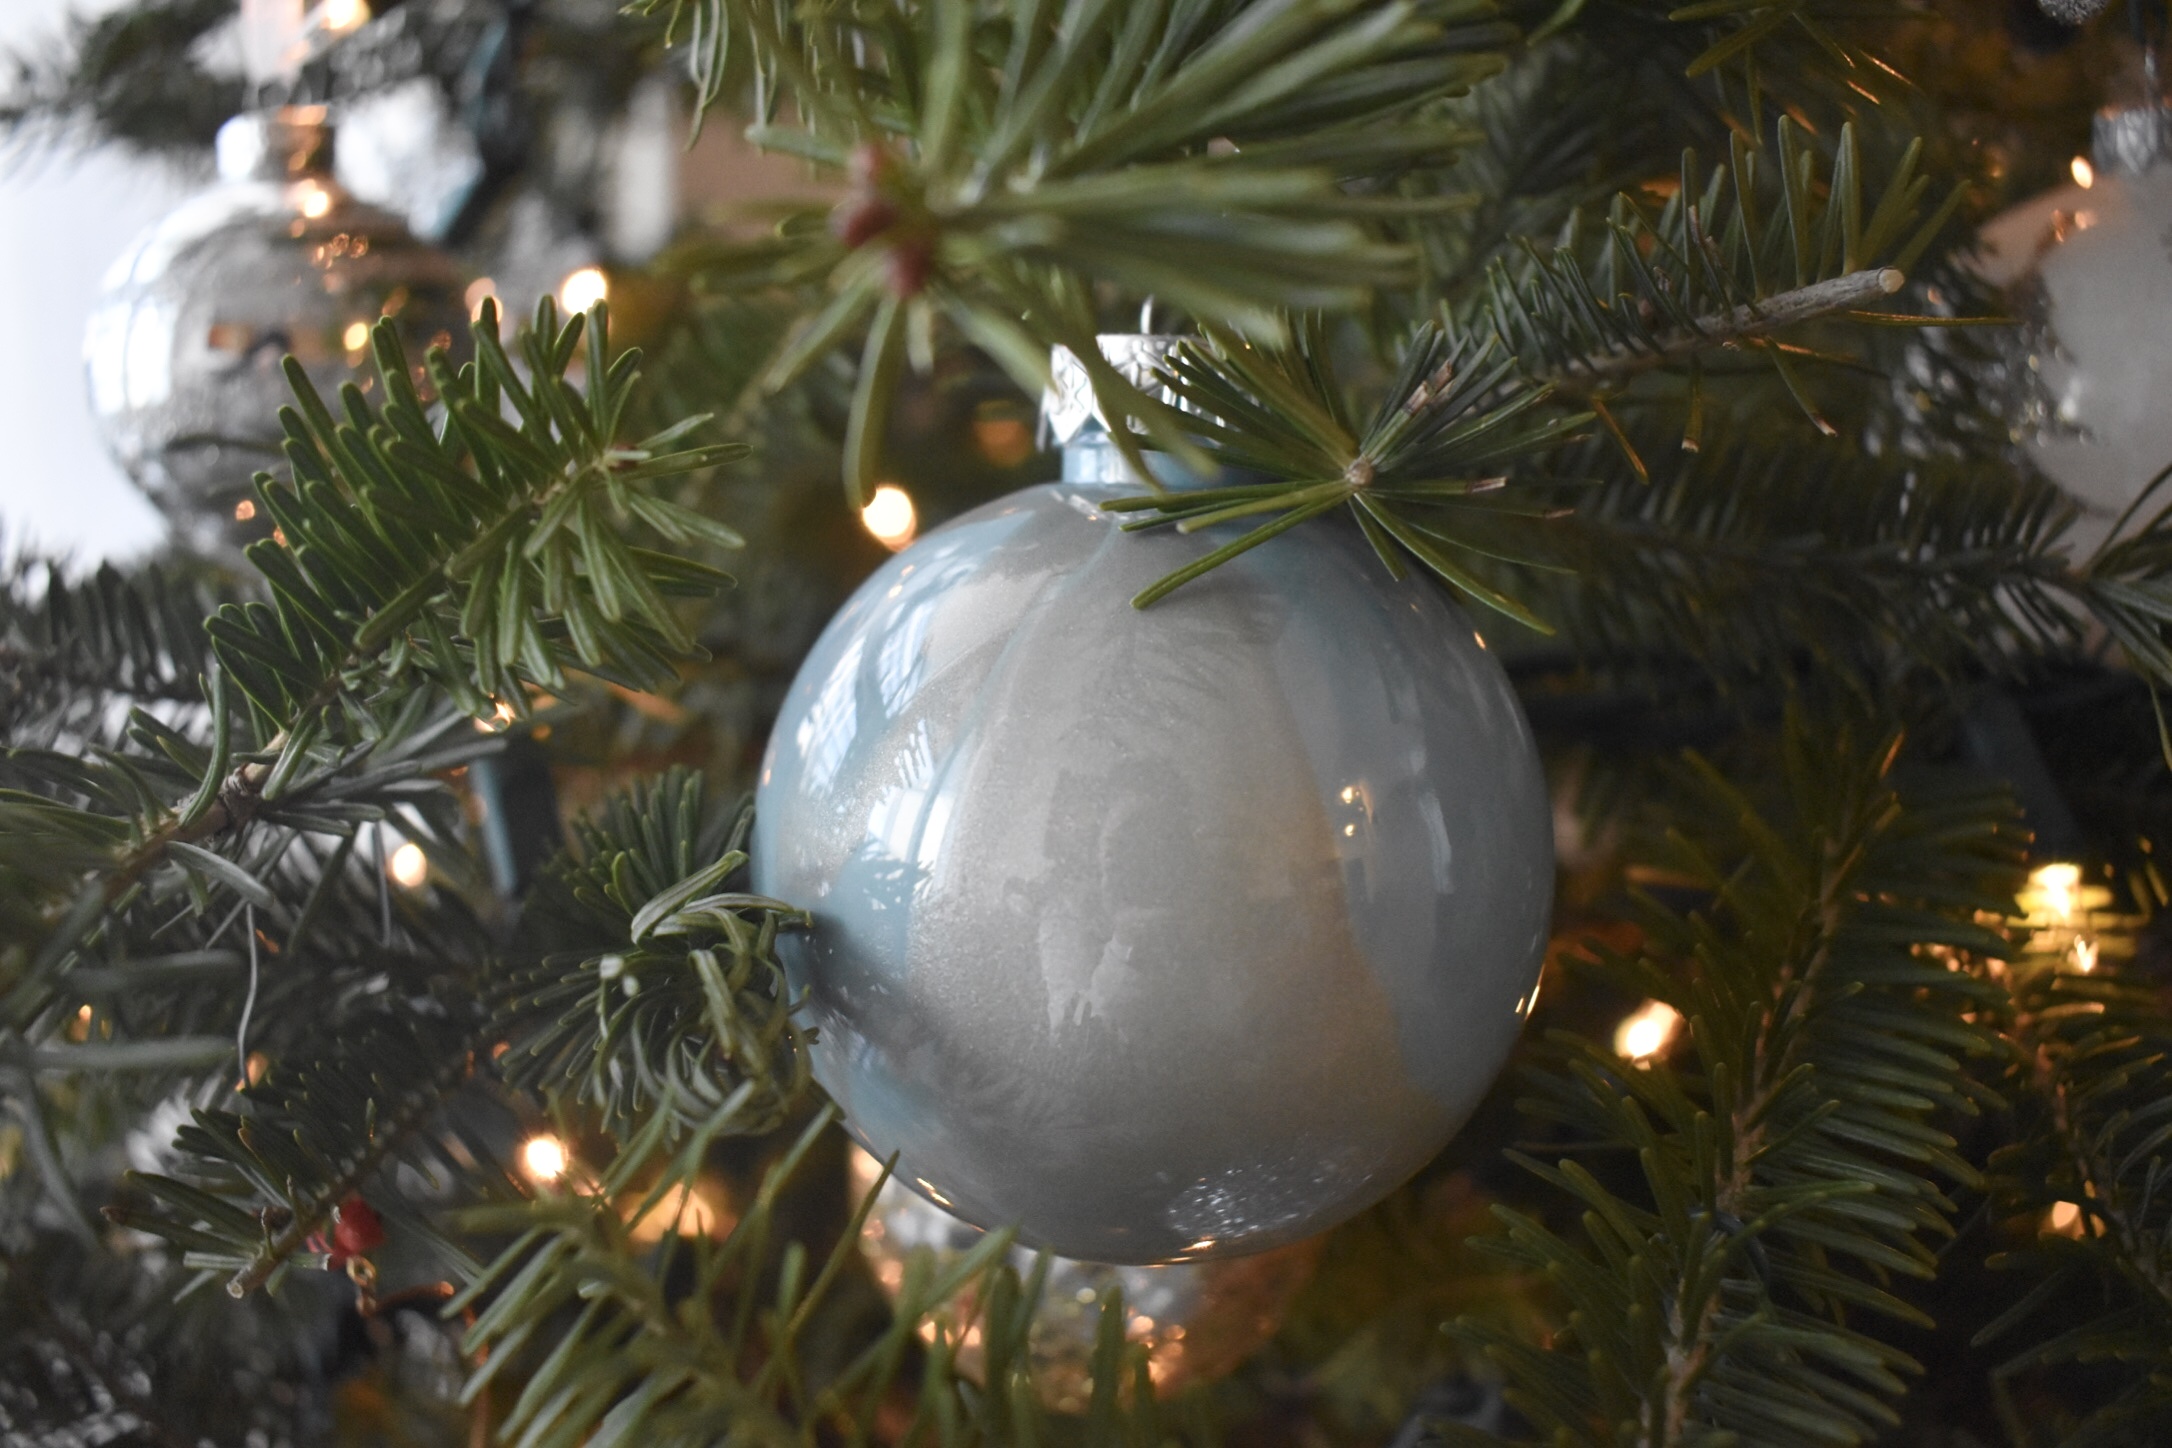
It’s as simple as pouring the paint in the bulb and letting it move around to do its thing. Easy as that! You can opt for the colours of your tree which is what I did but if you’re doing this with kids, more fun, festive colours would be better.


Seeing the paint swirl around and making its own unique design was something I loved watch happening. The colours blended together which also gave each bulb their own unique look.
I would say though, the less paint you use, the better. Really let the paint swirl around because it will take less time to dry. I used quite a bit of paint and they took about a week to dry. So use less and really be patient with it.
Once I was done swirling, I left them to drip dry in a cup for about a week or so. Once they dried, I popped the little lid back on and to the tree they went!
Like I said, super easy and really no fuss with these ones!
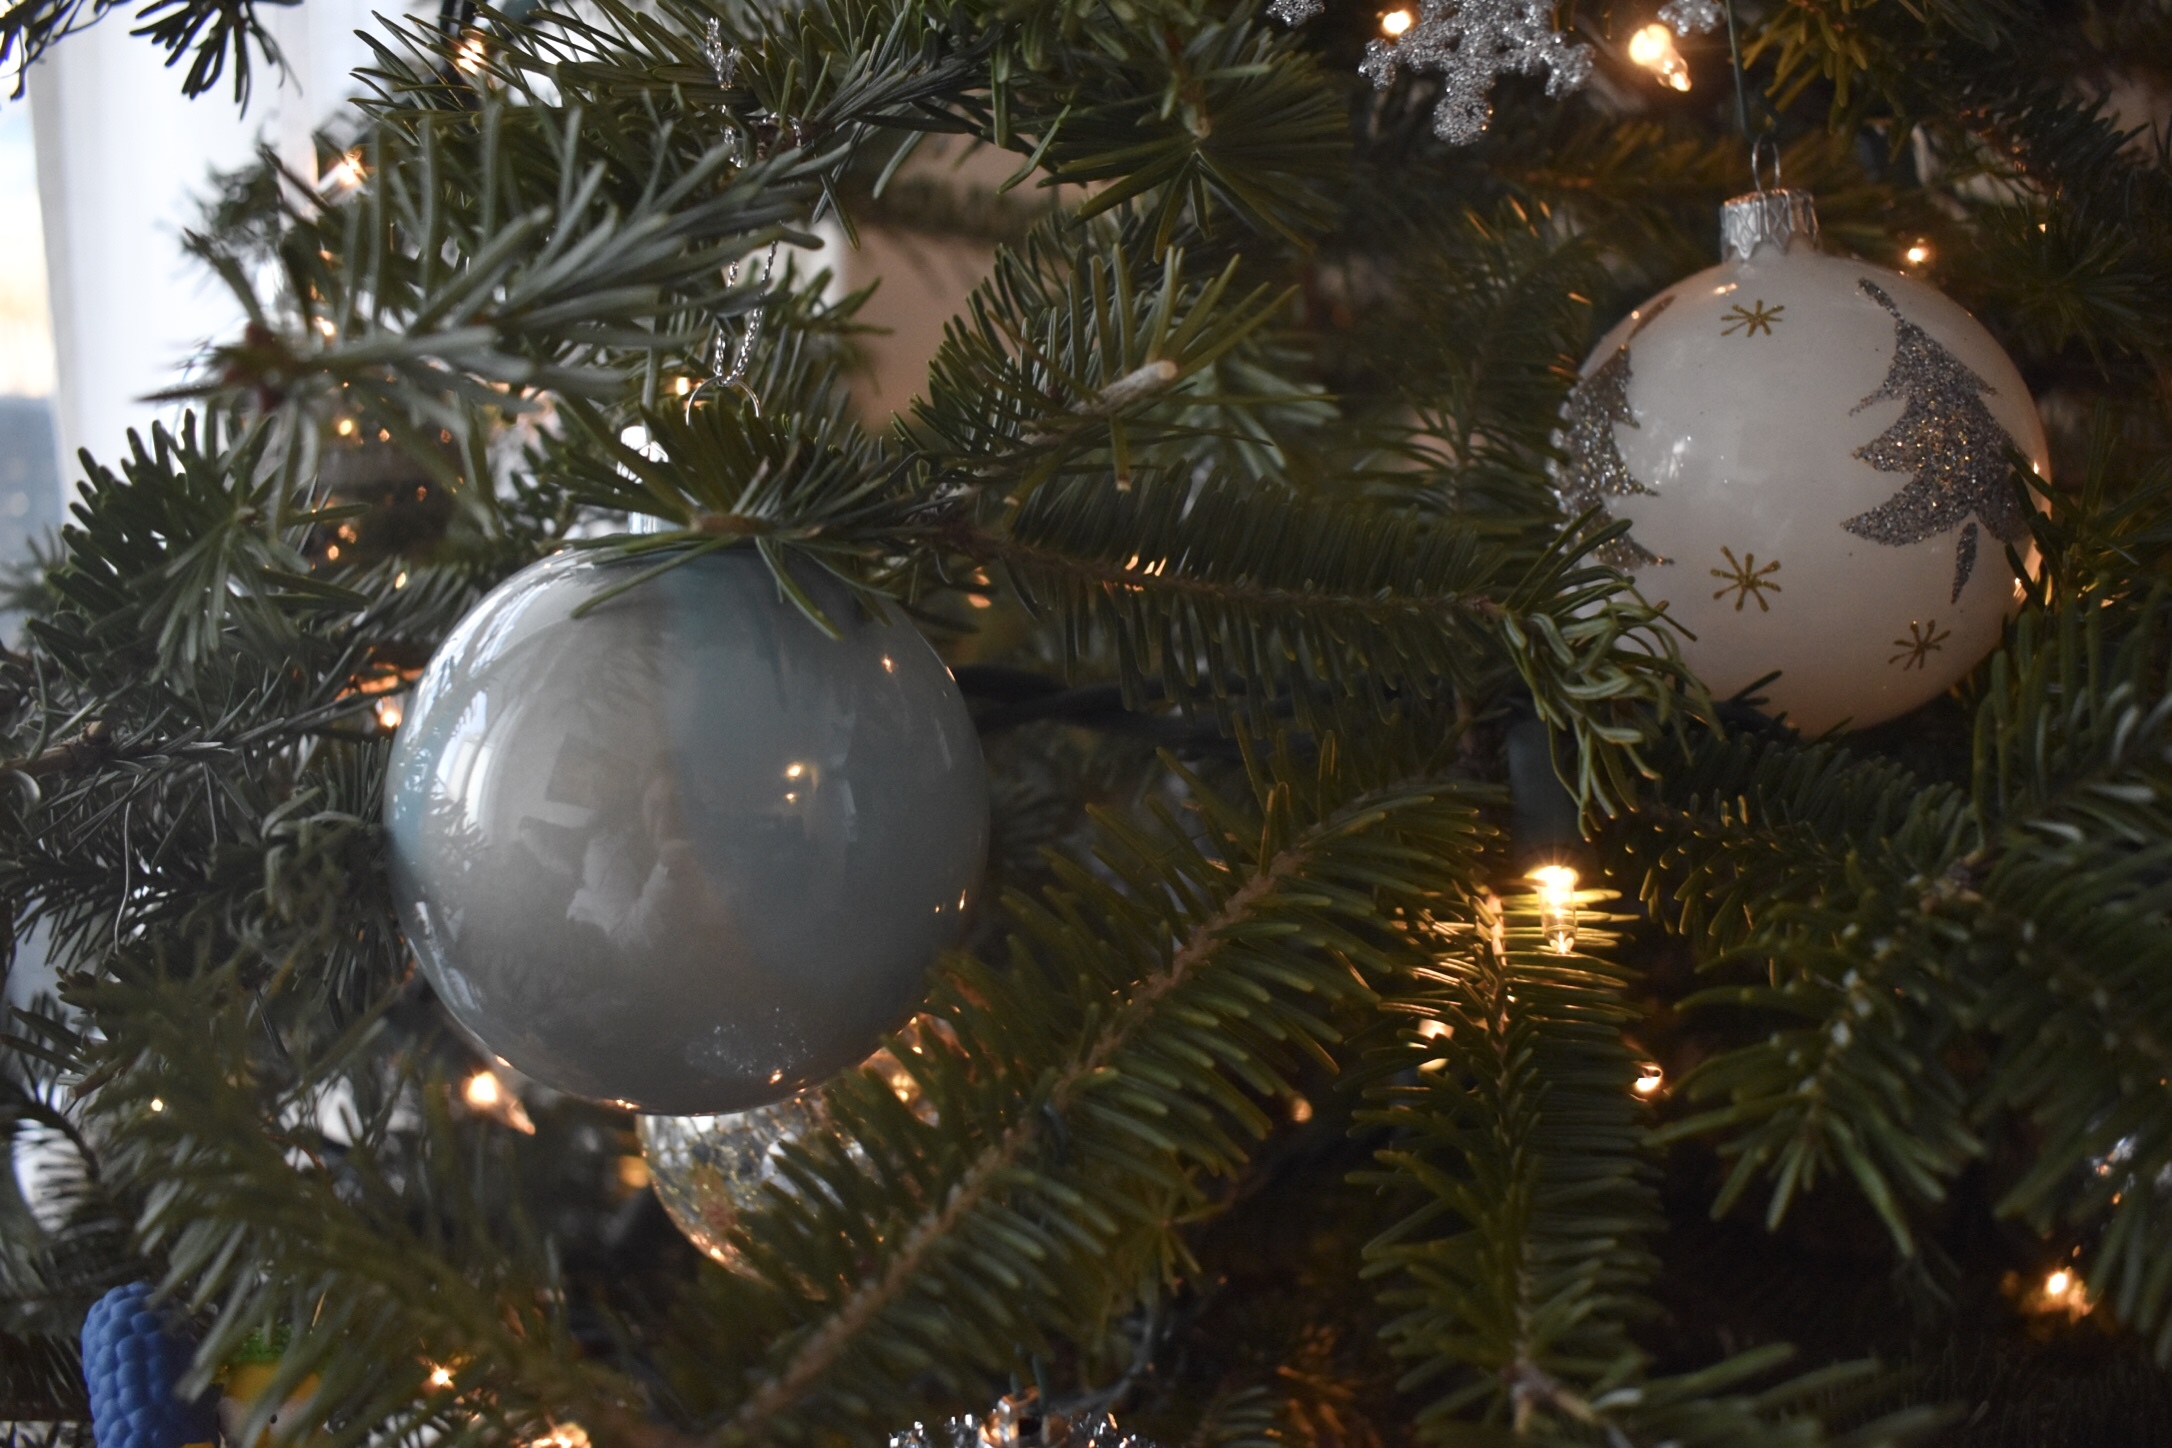
Have you ever made your own ornaments before? Let me know!
Since this is the last DIY for blogmas, you can check out the others that I did here:
