Wrapping and tagging gifts have become one of my favourite things around this time of year! I love wrapping a gift to make it a special experience for the receiver but this mostly pertains to adult gifts. Let’s face it, kids honestly don’t care how their presents are wrapped, lol.
With that being said, I thought it would be a cute idea to create gift tags this year! I see them all over Pinterest and wanted to give it a try myself. They’re super easy to make and took very little effort. Plus, I like that you can personalize them with different shapes to level up the tag even further.
Here’s What You’ll Need To Make Your Gift Tags:
-Flour: 1 cup
-Salt: 1 cup
-Luke warm water: 1 cup
-Cookie cutters (optional). You can use these Christmas ones from Amazon
*Recipe makes about 25-30 tags depending on how big your shapes are. If you don’t need that many, cutting the recipe in half will do just as well.
How to Make Your Dough:
Add your cups of flour and salt to the your bowl. Mix them together until thoroughly combined and gradually add in your warm water. Once you’ve added all 3 ingredients, begin to kneed the dough for about 30 seconds or until combined. Once combined, roll out your dough to begin cutting out your shapes. Easy Peasy!


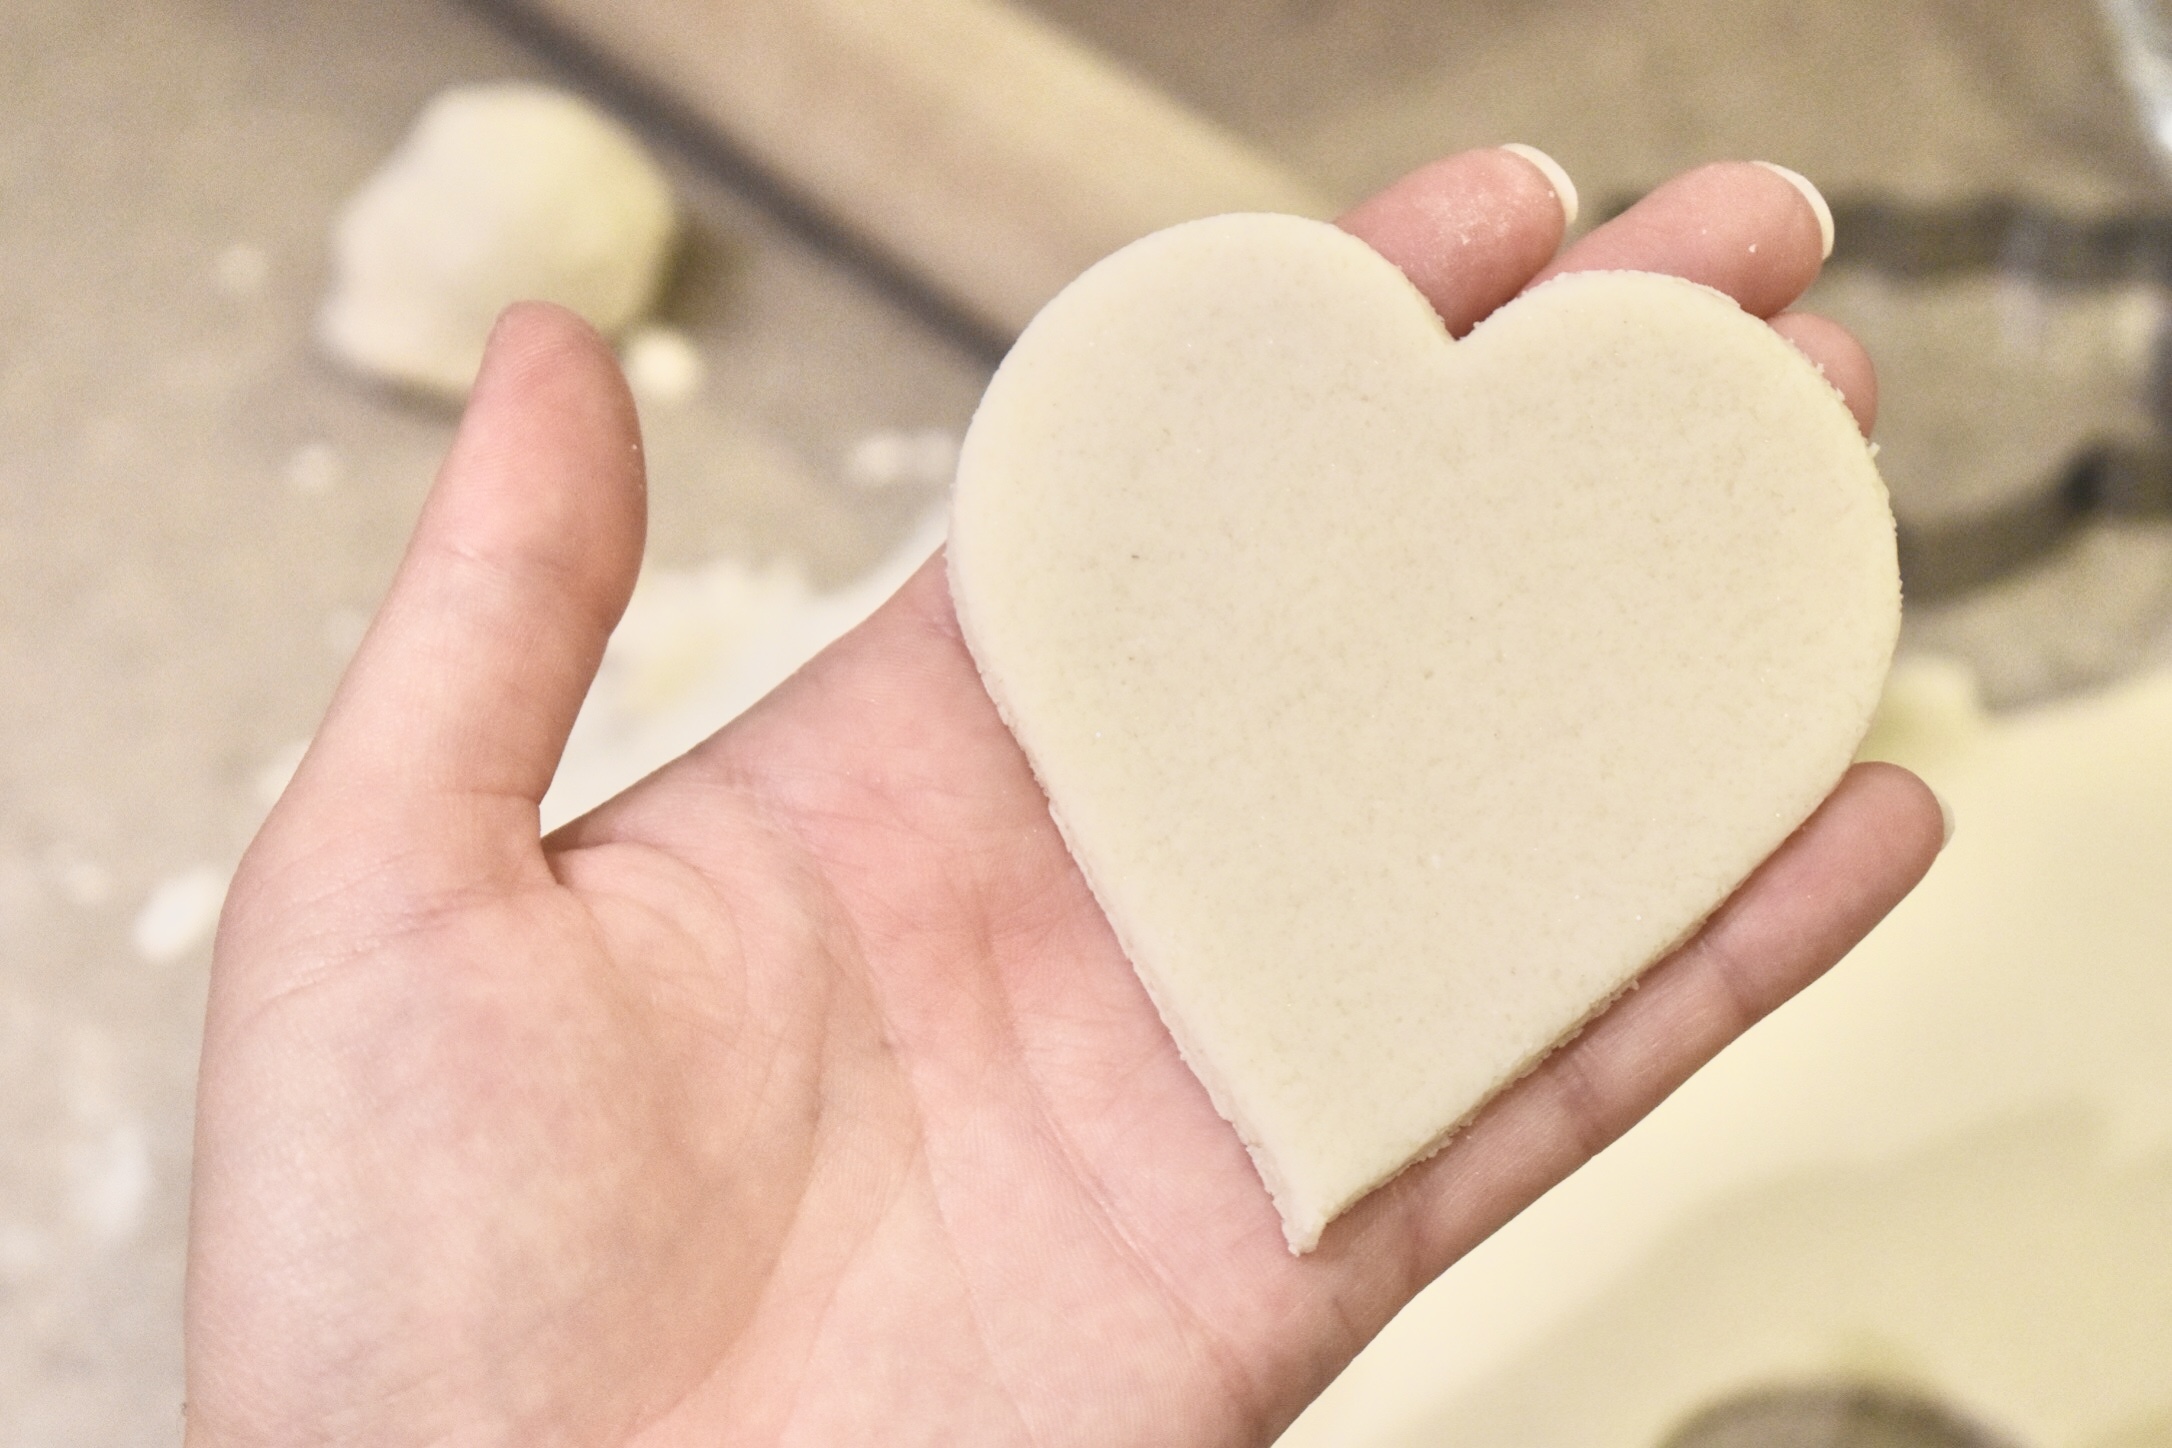
Now, if you don’t want to buy cookie cutters just for this, I found that the opening of a drinking glass made for the perfect circle alternative. Also, what I used weren’t cookie cutters, they’re actually egg shapes that you can turn your eggs into. Find whatever works!
Also, because you’re making gift tags, don’t forget to put a small hole at the top of the shape to thread your ribbon through. I didn’t have anything small enough so I used a plastic straw and it worked perfectly. A toothpick would have done just as well if you swirl it around enough to make the hole larger.
Once you’ve cut out all your shapes and used up your dough, place them on a baking sheet lined with parchment paper. You can either leave them to dry over night, or bake them at 250 for about 2 hours which is what I did because I’m impatient.
After they’ve dried, you can decorate them however you’d like with paint or leave them blank with a pretty ribbon to do all the talking. I did a mix of writing and blank ones and loved how they turned out. I used a stencil to write out some names for the kiddos in our family.
BONUS** These can double up as tree ornaments after they’ve been gifted!



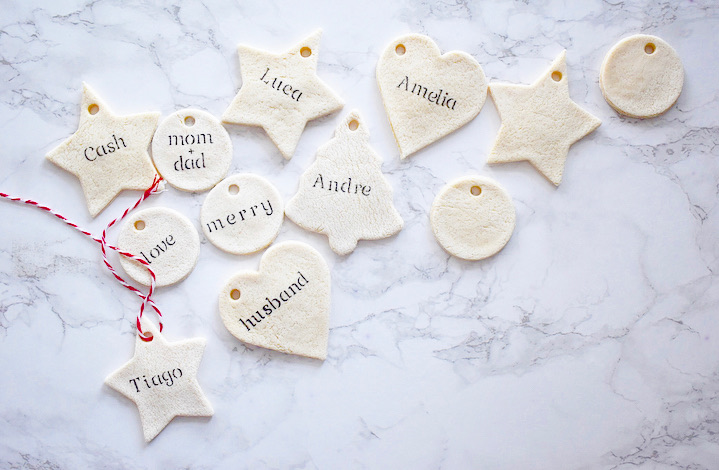
I’m all about cute, personal details and I think these are the perfect way to amp up your gifting this season.
Give it a try and let me know how it works for you!
If you missed yesterday’s post, you can see how to make your own gift wrap that would go perfectly with these cute tags. You can find that here!
