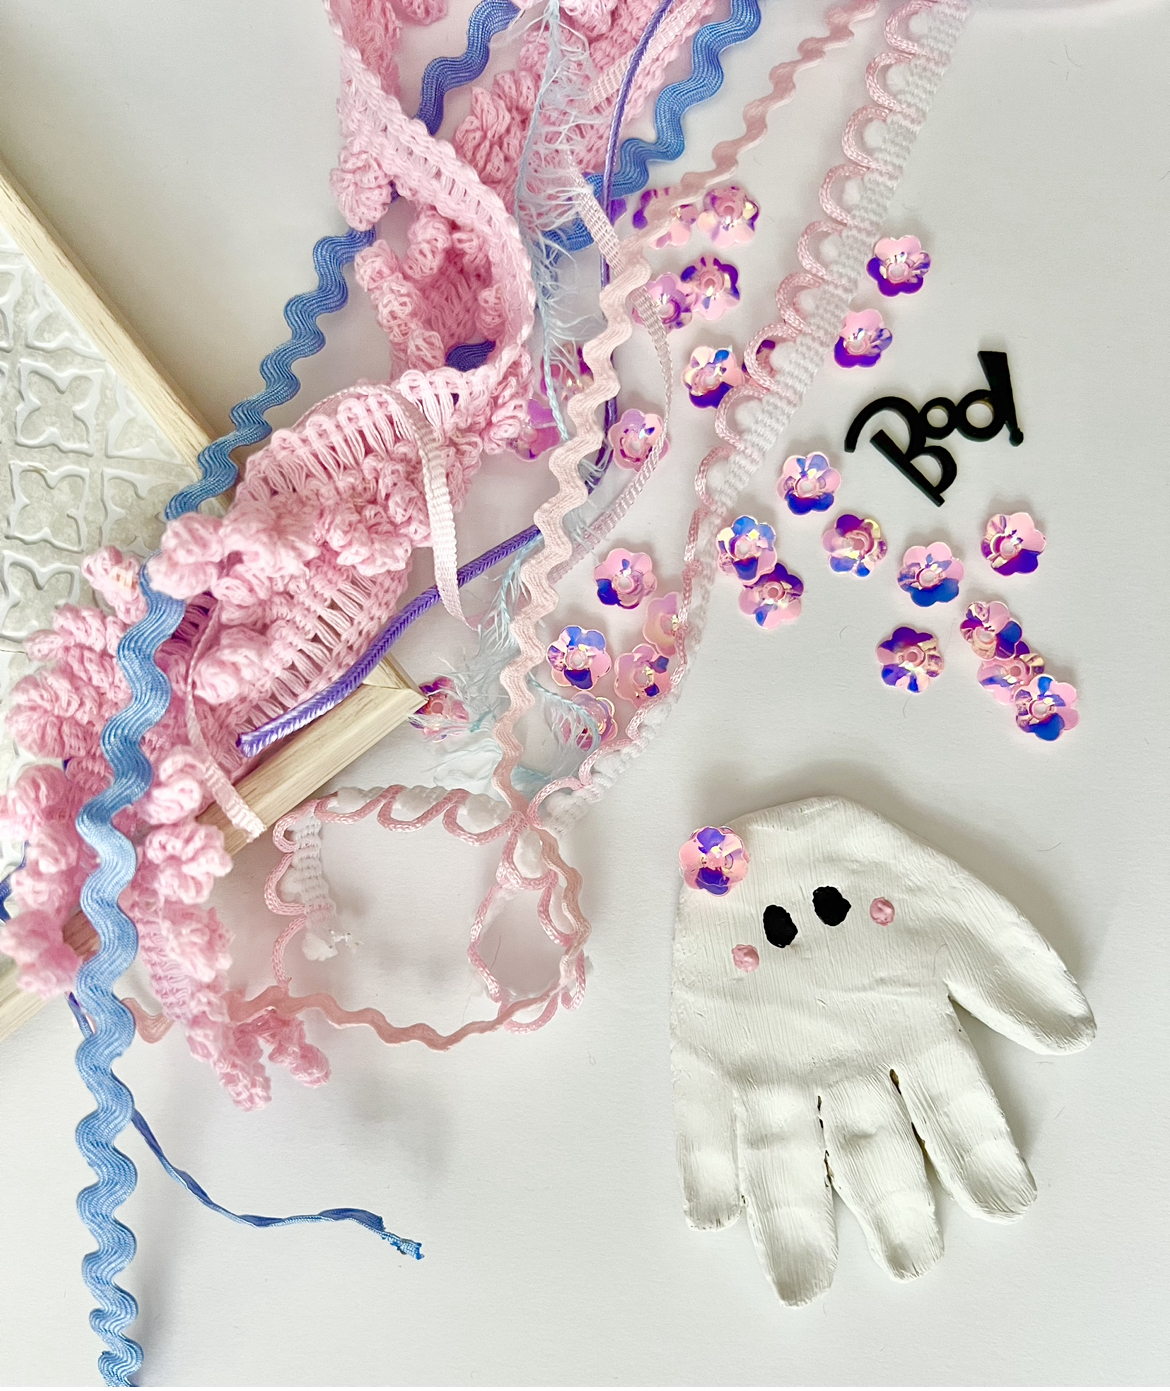
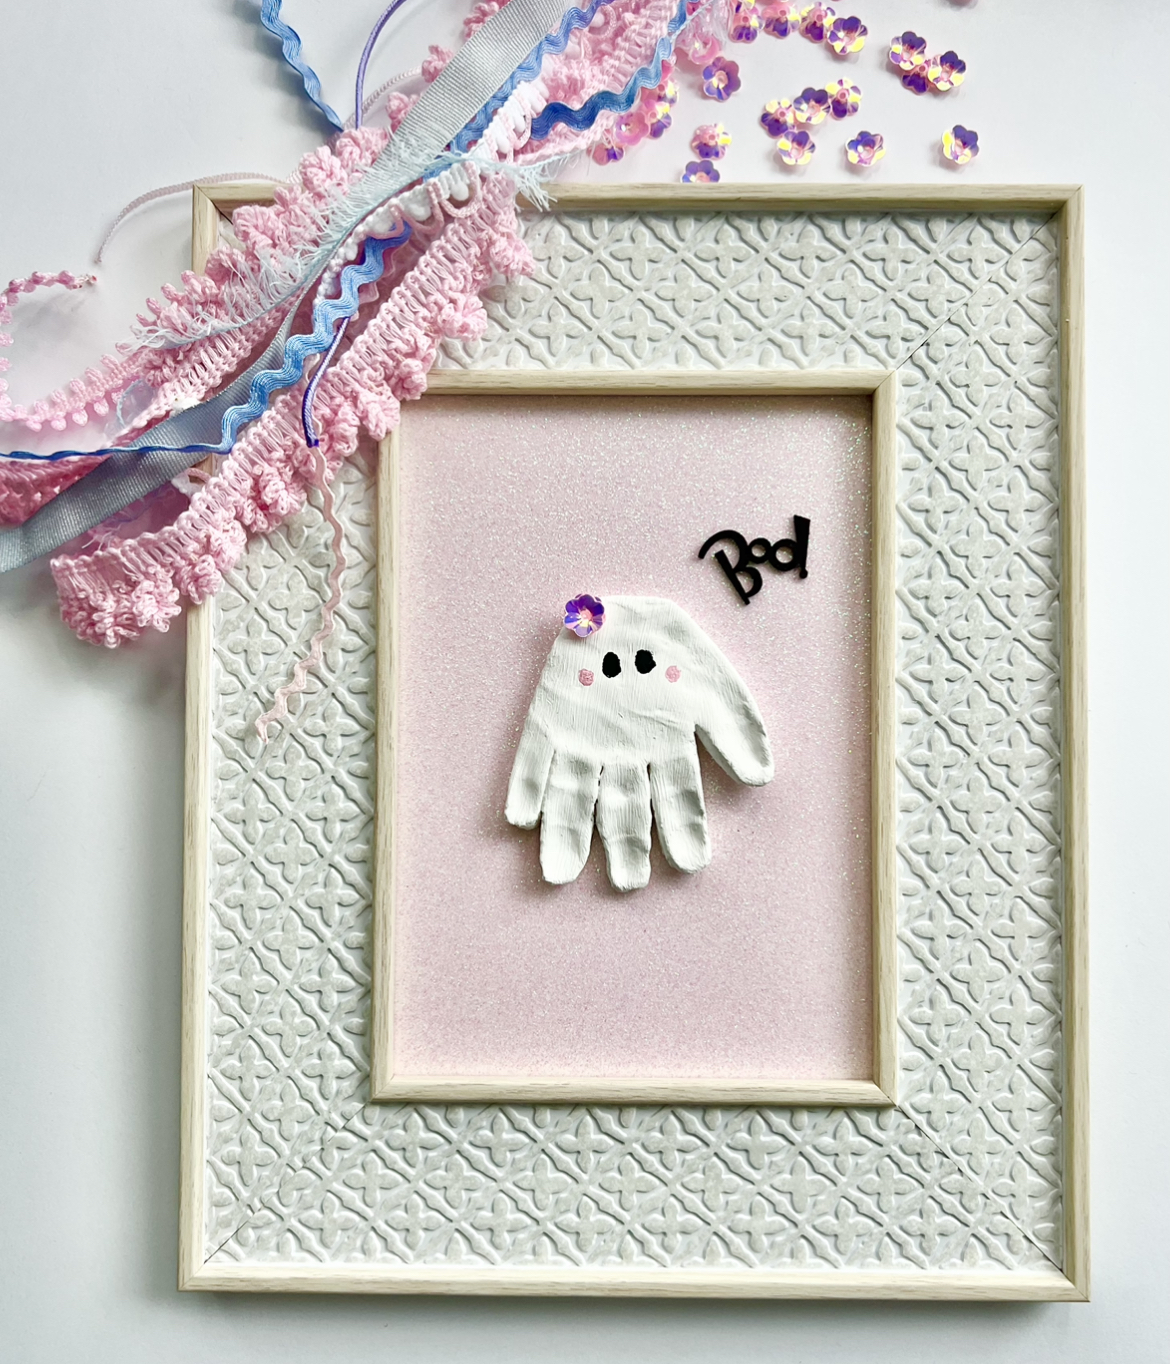
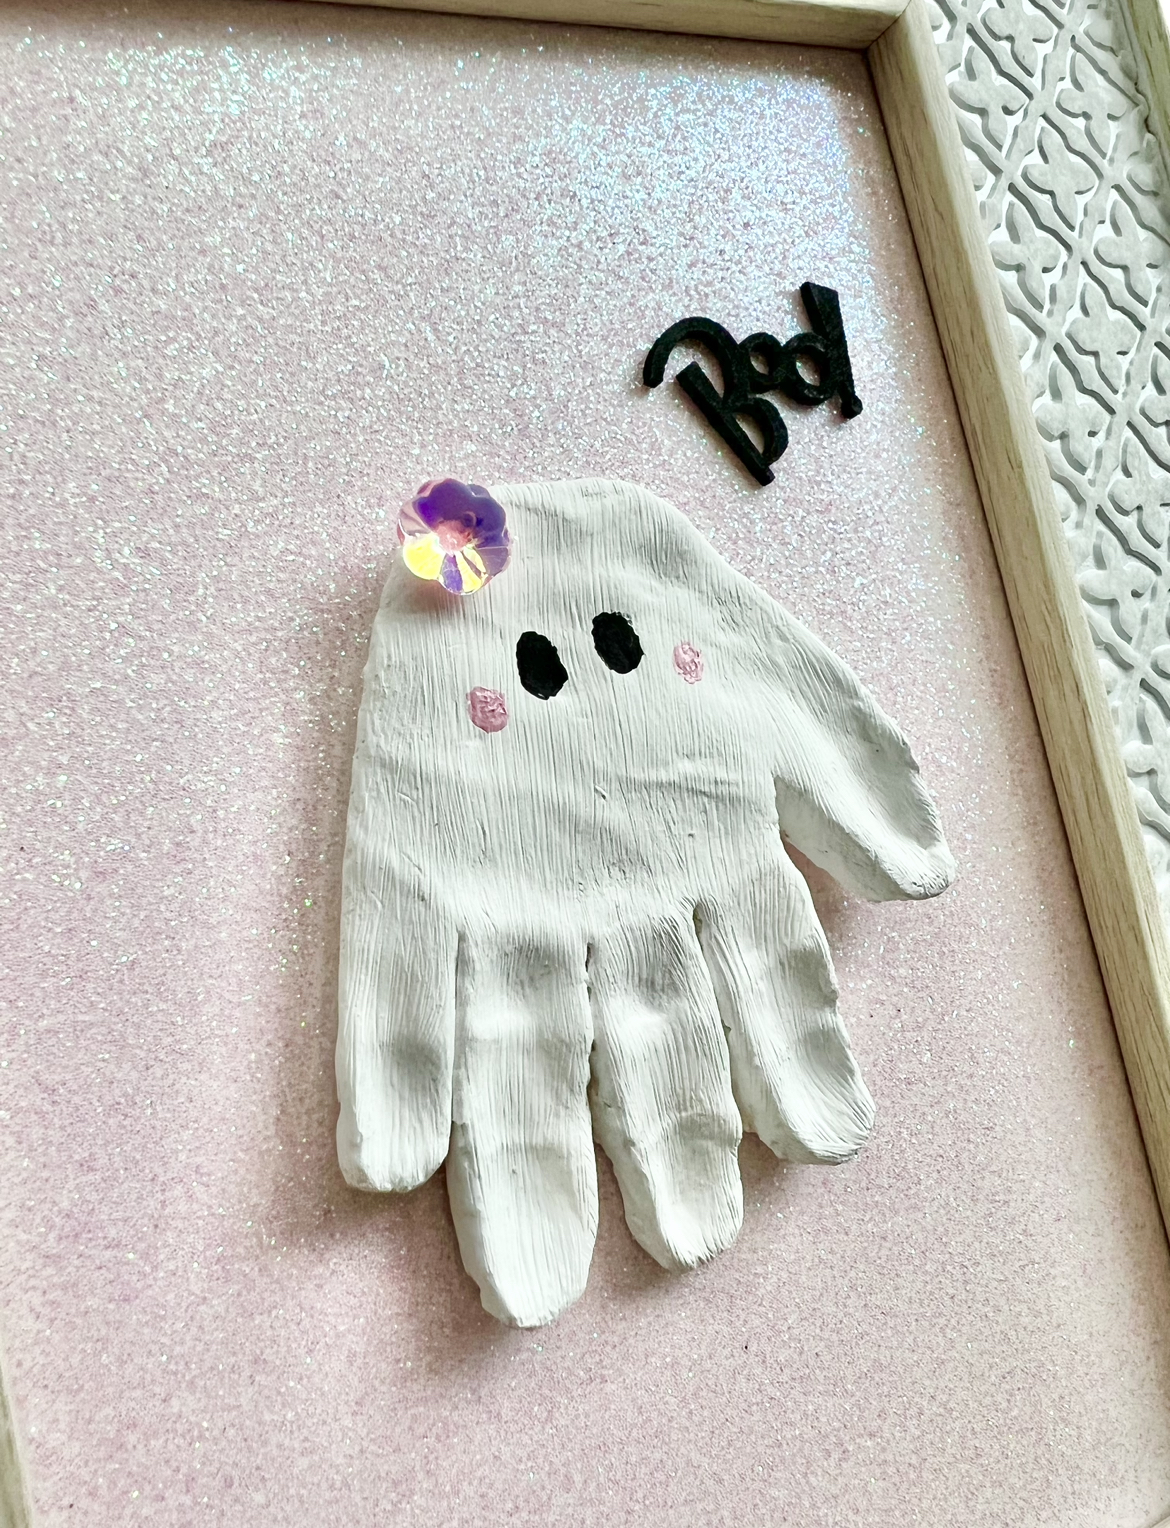
Handprint ghosts sound just like what it is! A little handprint that turned upside down, becomes the cutest little ghost. I originally saw this idea on pockets.of.sunshine’s instagram and I knew I had to re-create it for Ava. How cute to have a handprint from her first Halloween as she gets older – I couldn’t resist.
Keep reading below on how I made it!
How to Make a Ghost Handprint
Pin for Later
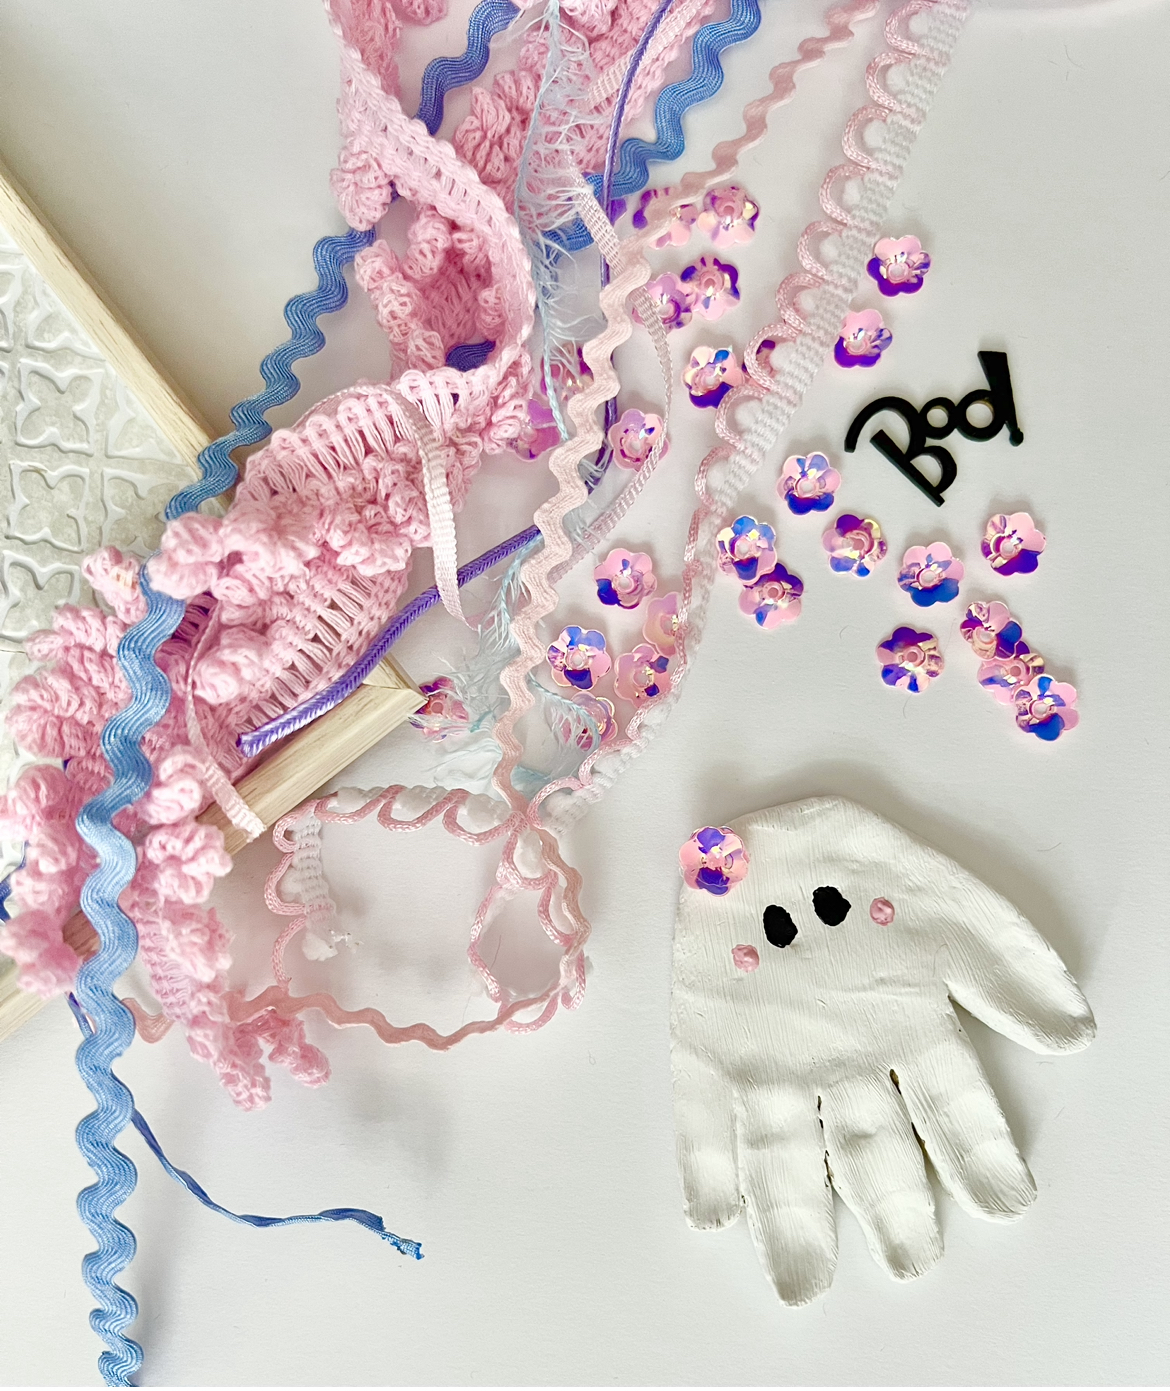
Items You’ll Need
–White, black, and pink acrylic paint
-Scissors
-Glue gun
-Butter knife or something smooth to round out the edges
I’ve found links to a variety of different products you can use to create the ghost, but I went to Dollarama to purchase a few of these pieces like the picture frame. You can make it as inexpensive as you’d like! I might switch her frame out for this Ikea one I found, because how cute is that one?!
Step 1: Making the Handprint
You really don’t need much clay considering a child’s hand is still quite small. I used a small handful and still had a bunch leftover once I flattened it out.
Take a chunk of clay and roll it into a ball. Once you have that, flatten it out with a rolling pin (I just used my hands) until your desired thickness. Keep in mind that the thicker you have it, the longer it may take to dry. The Crayola Air Dry Clay needs about 72 hours to fully dry.
After you have your clay flattened out, take her child’s hand and place it in the middle. Hold their hand down and push it down (lightly) into the clay. Once you’ve patted down their palm and fingers, lift their hand up. That’s it, hard part’s done!
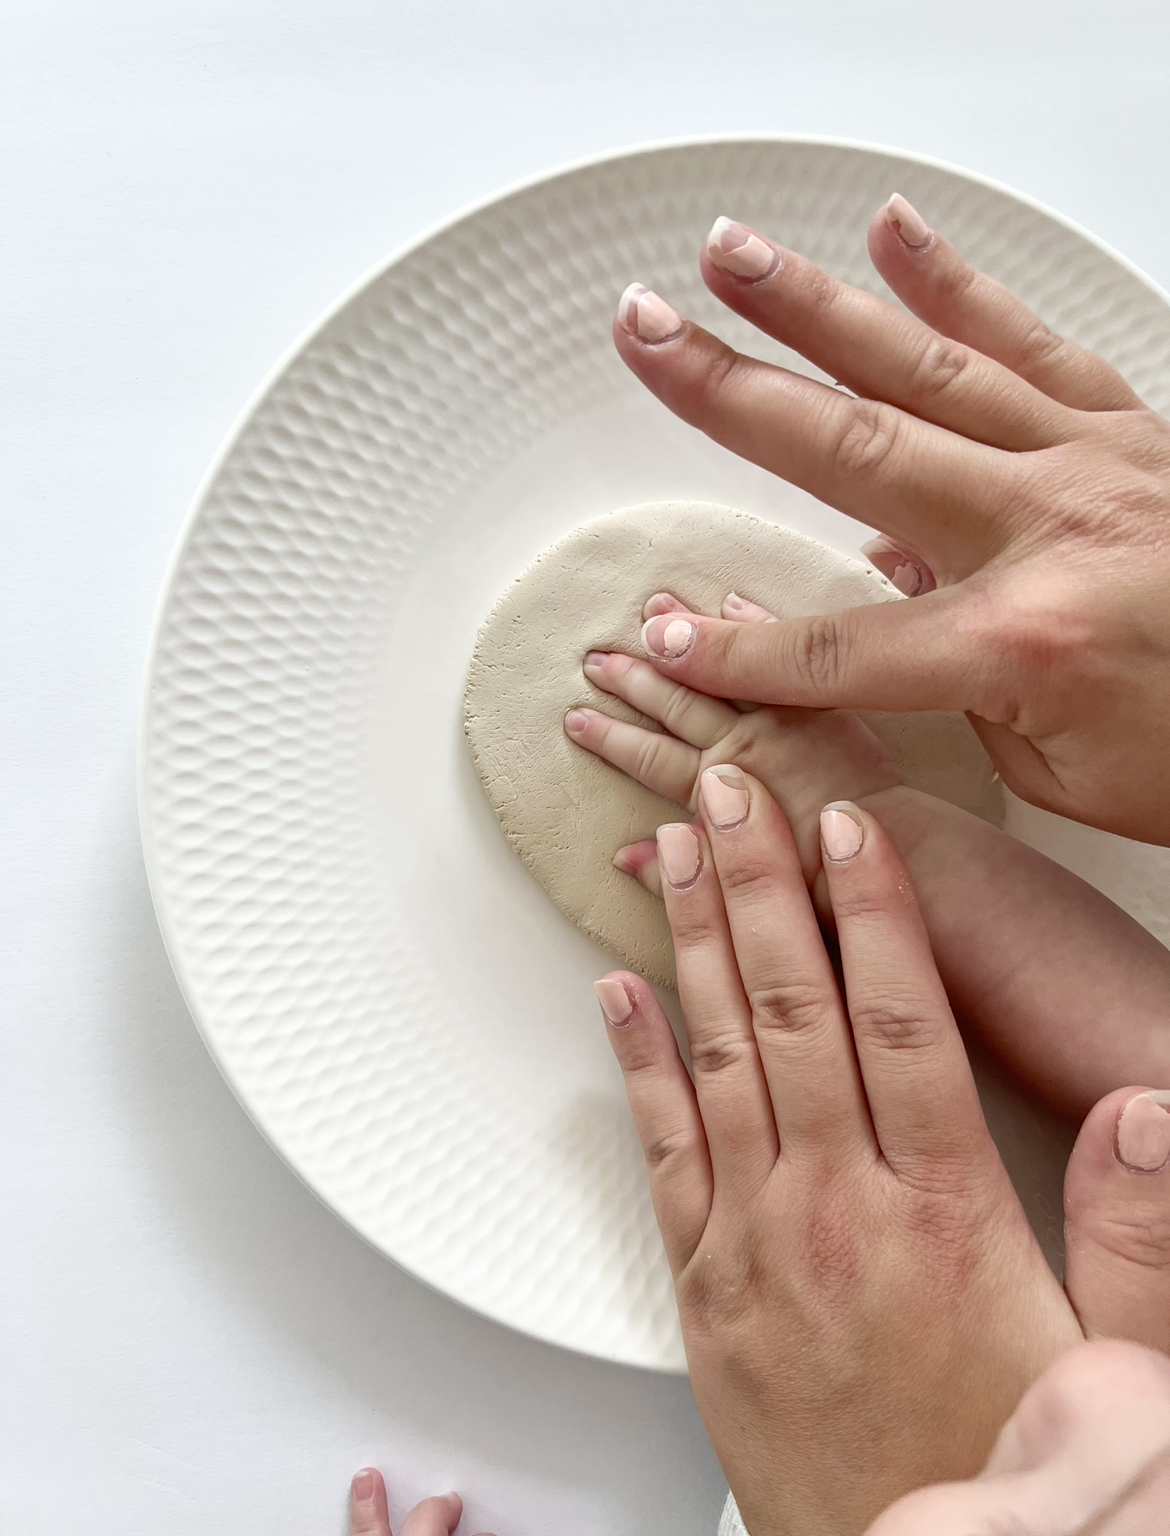


Take the butterknife and carefully cut around the handprint so you can remove the access clay. Once you’ve isolated the handprint, I went around the edges with the butterknife to try and smooth them out.
After you finish the edges, you can set it aside to dry!
*Tip: Place to dry on parchment paper so it’s easy to remove after dried.
Step 2: Paint & Decorate
Once your handprint is completely dry, you can begin painting it. As simple as it sounds, paint the handprint with the white acrylic paint and set aside to dry again. I did two coats of white so you couldn’t see the grey tones underneath.
Upon drying, you can paint the little face. I chose to do two eyes and some pink cheeks but you can add a mouth in there too if you’d like. Just like Jenn from @pockets.of.sweetness, I also added a little flower to the left of the ghost because it just ties it all together.

Step 3: Choose Your Background and Frame
Pick a colour you’d like the background to be. I’ve done a pink theme for Ava’s Halloween decorations this year so I went with some glittered pink cardstock from Michaels but anything will do. I traced the glass frame on the paper and then cut it out. I also placed the paper on the outside of the glass rather than behind. I thought it would add an extra little element to it. Place the paper on top of the glass and assemble the glass back onto the frame. Flip the frame around and see where you’d like to glue down your ghost handprint. Once you’ve established where you want it to go, glue gun the back and press it down onto the paper.
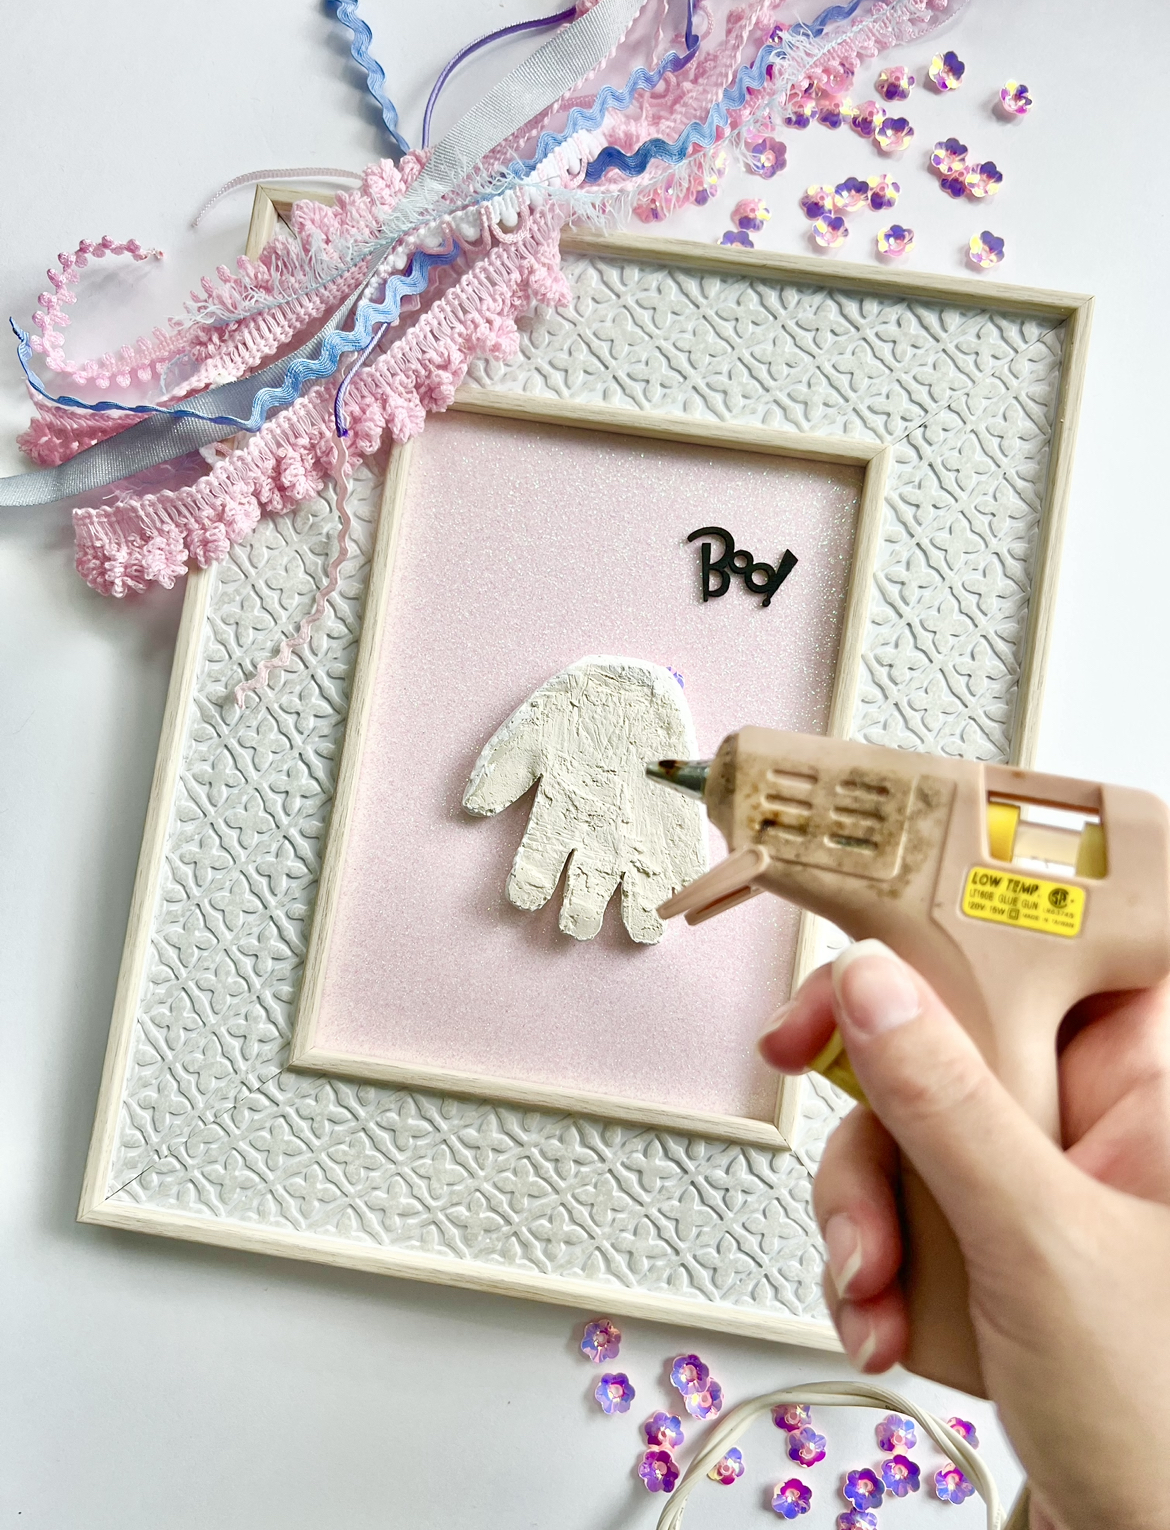
I also had a wooden Boo! cutout left from a Dollarama purchase so I painted that black and glued that to the paper as well.
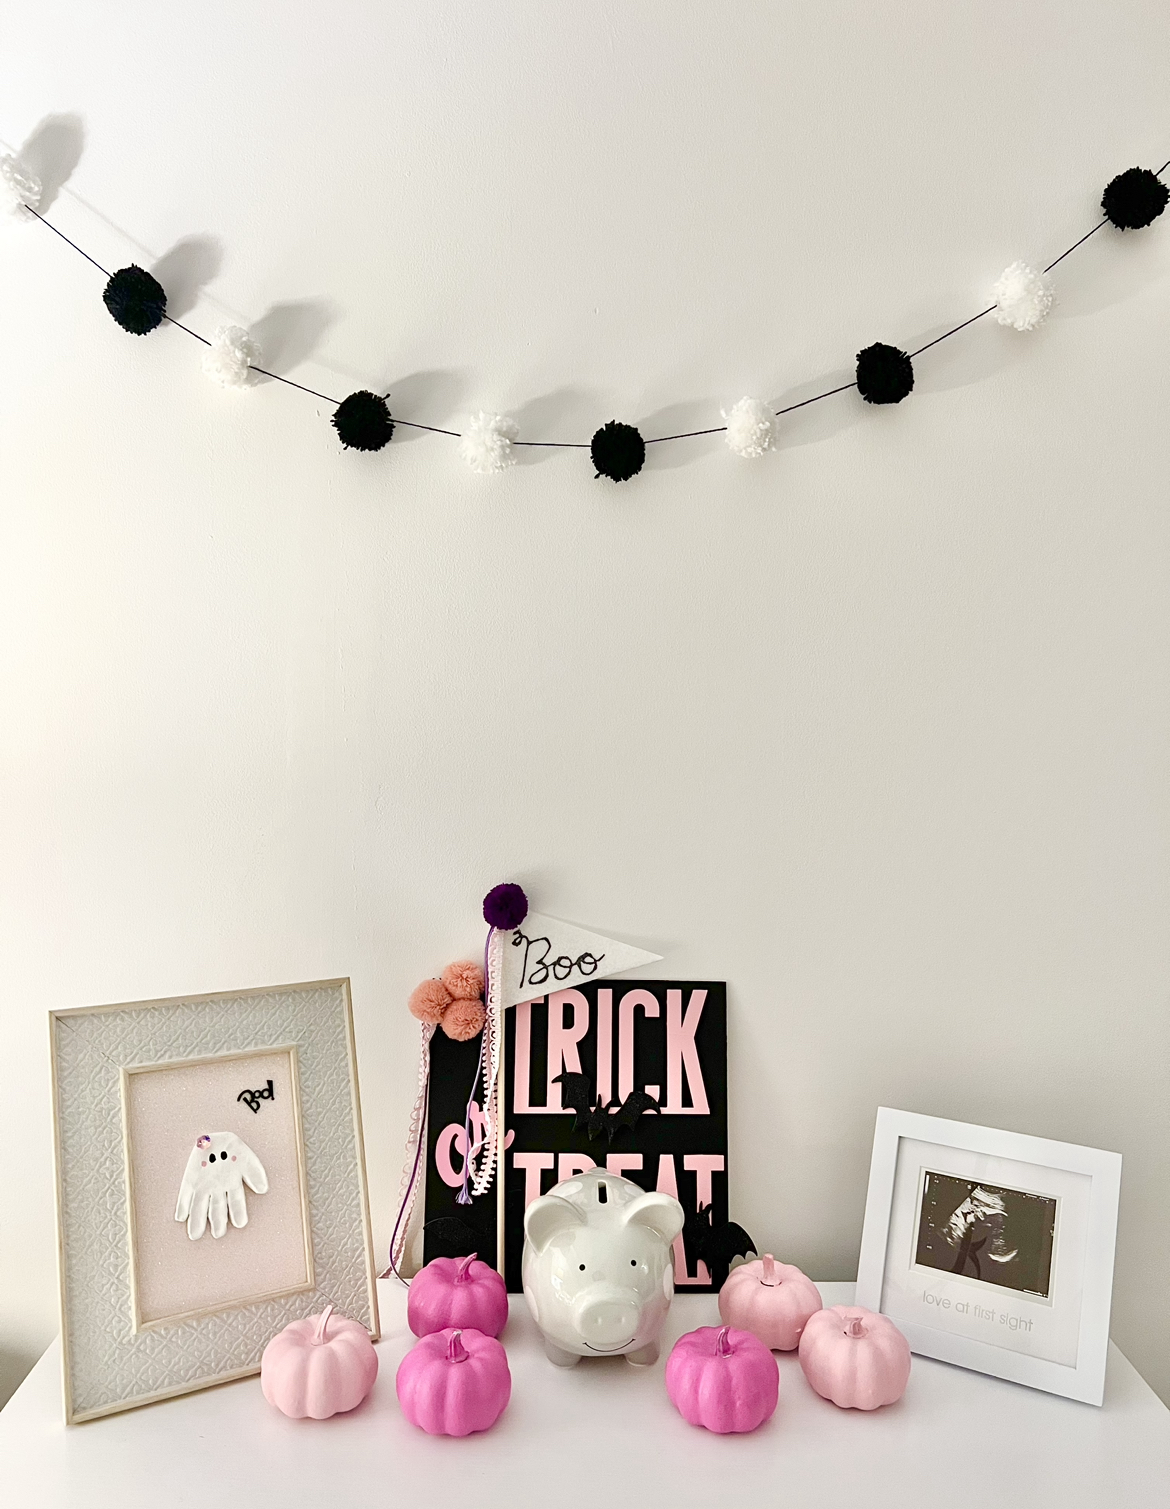
And that’s it! Your adorable little ghost handprint is ready for display for years come.
I also wrote the month and year on the back of the paper so we can remember when it was done. How cute to have their little handprint as Halloween decor through the years!
Have you done any Halloween DIYS with your children?
