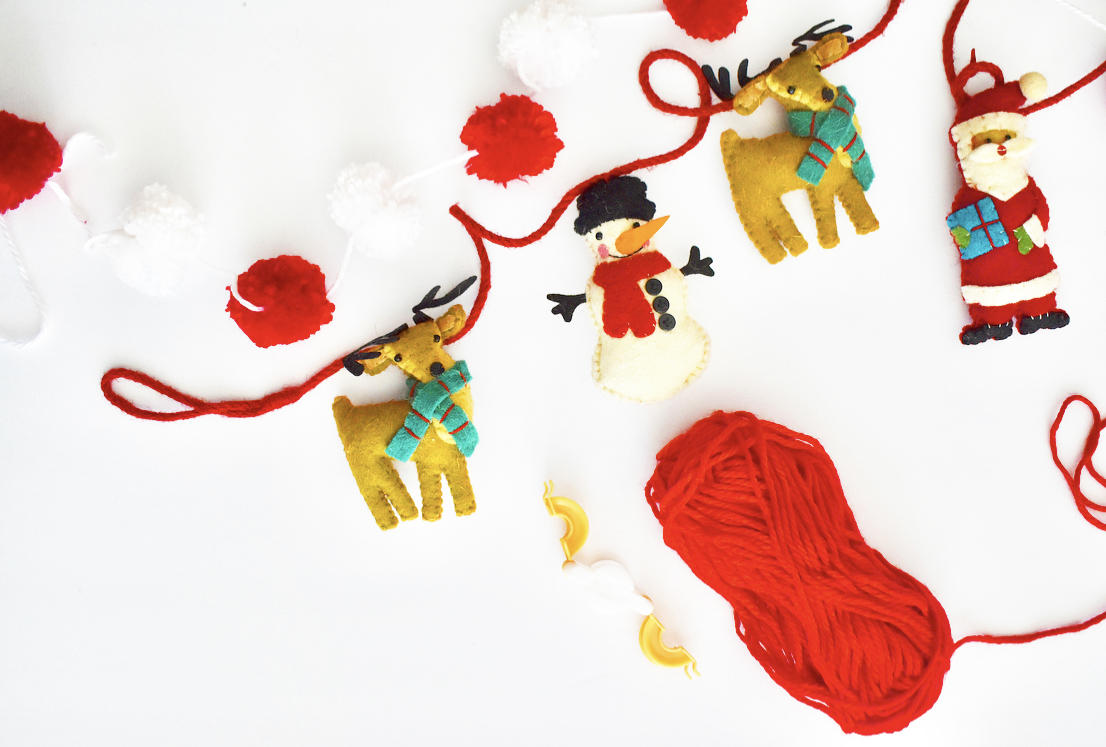
Have you been eyeing those cute little festive garlands at HomeSense like I have but don’t want to pay that silly price for them? If you’re into DIYs and you have some time to spare, this post if for you!
I discovered pom pom garlands on Pinterest and eventually went down a rabbit hole of different ones you can make. Turns out there’s a whole variety of garlands and even actual little plastic pom pom makers to help you achieve the perfect one – who knew?!
If you’re interested in making your own for the festive season, take a look down below to see how I made Ava’s garland for her first Christmas!
How to Make a Festive Pom Pom Garland
Pin for Later!
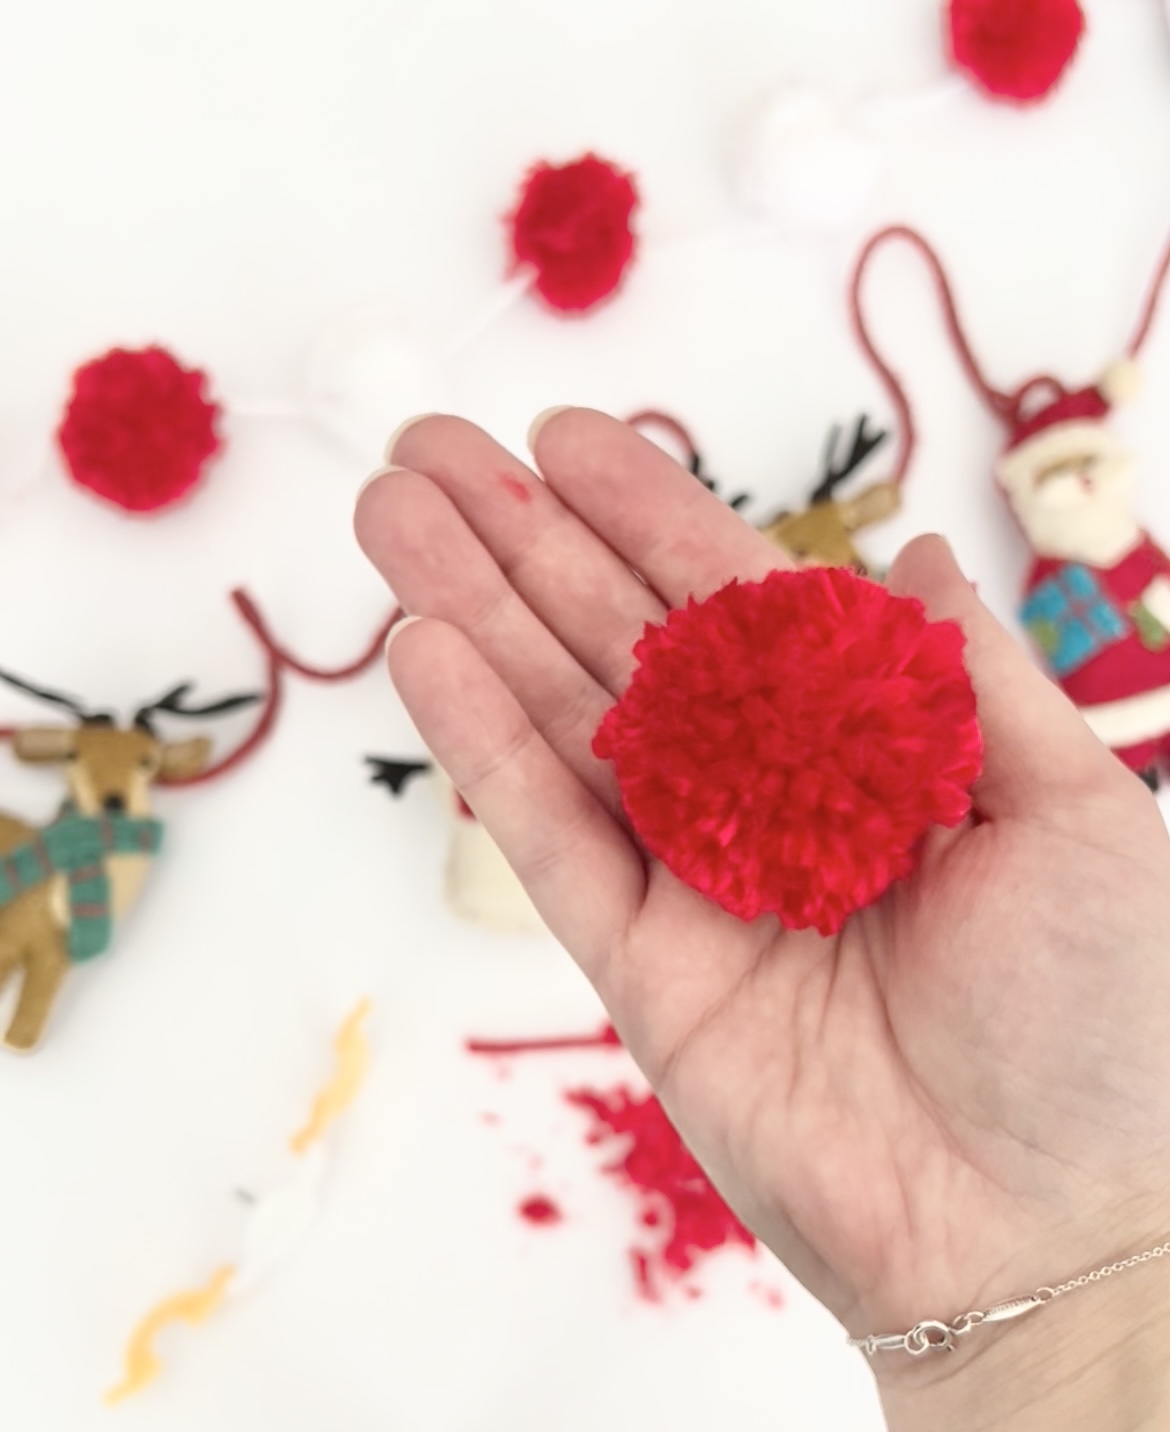
First things first, you need to select the colours you’d like and purchase your yarn. I stuck to a classic red and white garland to make sure it matched anything I paired next to it for holiday photos and decor. You can purchase your yarn from any craft store like Michaels, or if you’re looking to keep the cost low, I used Dollarama yarn and it worked perfectly fine. Although I will say that a good quality yarn makes the process a little easier however it’s not really necessary. Once you’ve picked your colours and you have your yarn, you’re good to start!
For actually making your pom poms, you can use a fork or purchase a pom pom maker. I tried the fork method and found it pretty frustrating so opted to give the maker a try and after some trial and error at the beginning, I highly recommend. I purchased this one form Amazon and it gets the job done.
Here’s What You’ll Need:
Step 1:
To begin, you want to cut a single strand of yarn a few inches long. This string will be what ties your pom pom together. I find that cutting it before you actually start creating it makes things much easier. Put that aside.
Step 2:
Next, undo a large amount of yarn from the ball and have it in front of you. Pulling out the yarn beforehand also helps make it easier so you’re not constantly pulling from the bunch.
Step 3:
Once you’ve gathered a decent amount of yarn, start by pulling out two of the “arms” from the maker and begin wrapping it around the two. You want to do this until you fill the half circle, about 50 times around or so. After you’ve completed the one side, pull out the other two “arms” and bring the yarn over. Keeping the same piece of yarn also makes things easier but you can cut it and begin the same process on the other side.


Step 4:
After both sides are complete and the maker is full, cut the yarn to disconnect it from the ball. Now you’re ready to begin cutting. Using the insides of the arms as guides, cut in the middle of the two to split the yarn. Do this to both sides.


Step 5:
Before you can take the maker apart, you need to use the piece of yarn you cut at the beginning and wrap it around the middle of the maker from where you just cut the yarn. I double knot mine because it kept the pom pom intact. Slowly lift the arms of the maker up and unattached the two pieces. Your pom pom will come out and look a little all over the place.


Step 6:
Now you’re ready to start trimming! Cut the odd length pieces of yarn to make it more uniform. Do this until you’re happy with the shape and look of it. Repeat steps 1-6 to make about 9 more pom poms so you can complete your garland.


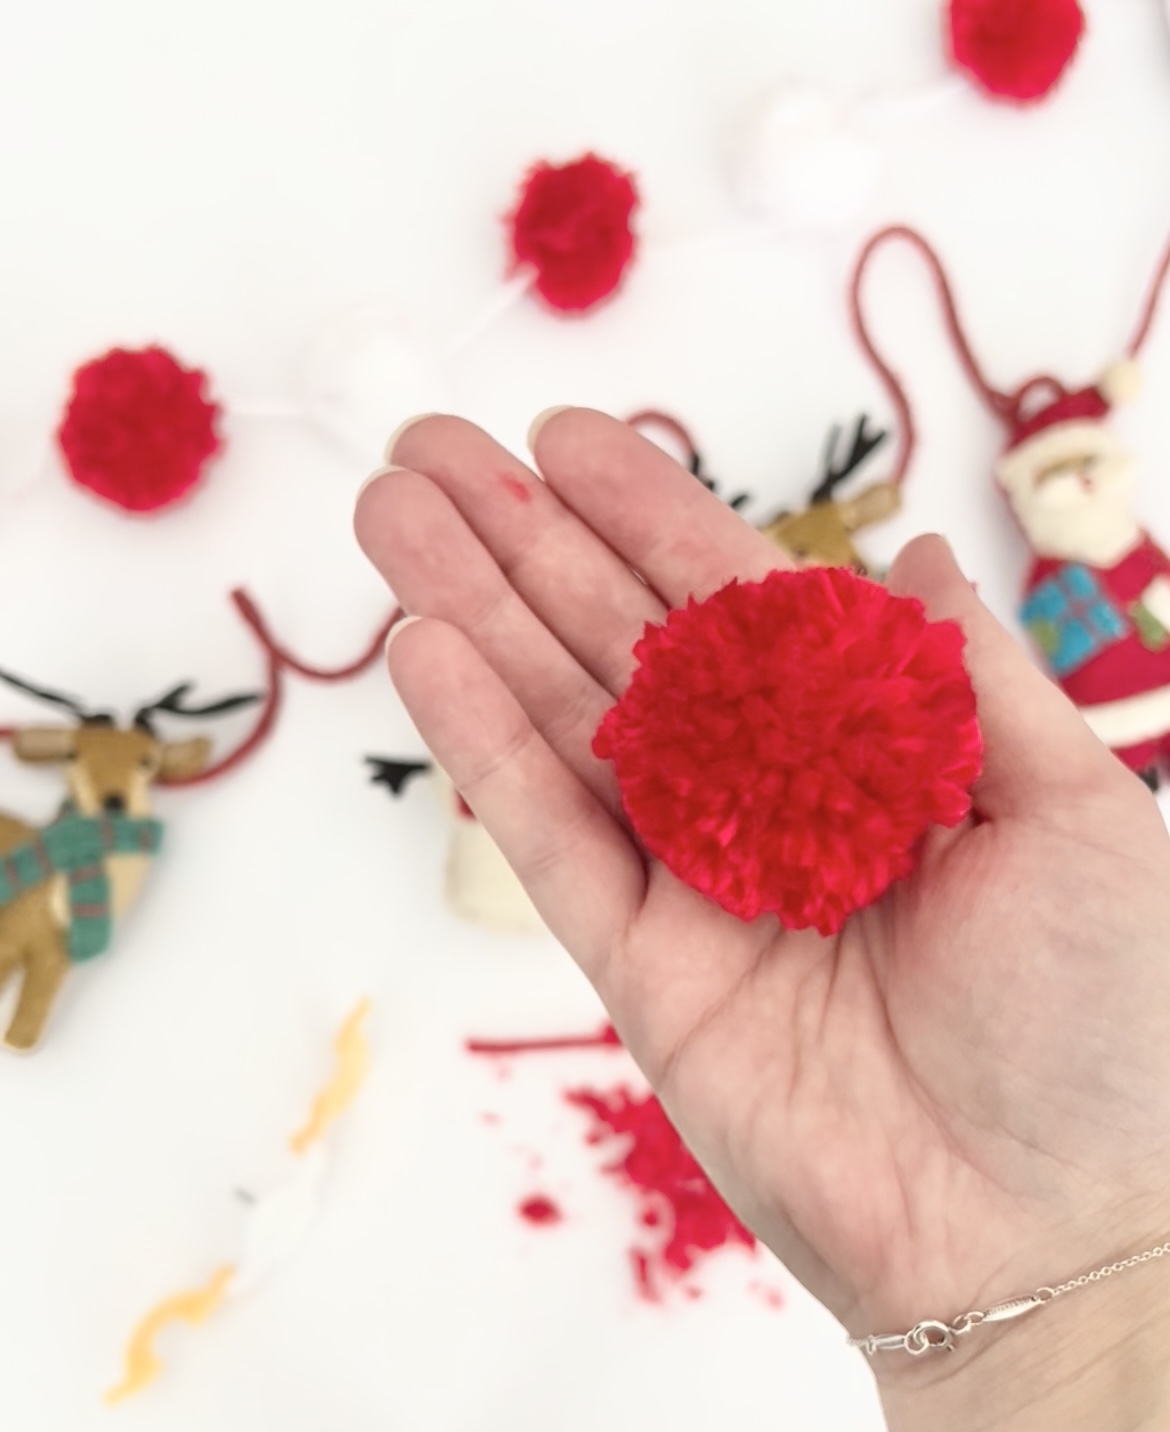
Putting Your Festive Garland Together
When you have your pom poms all created, you’re ready to start stringing them together (*not pictured here*). You’ll need a thick needle to ensure it can be pulled through the thickness of the yarn. Again, I bought a pack of needles of different sizes from Dollarama.
Feed the needle against the piece of yarn you used to tie it together to ensure that it’s more secure along the garland. Pull the pom poms along the string and place them a few inches apart from each other. Once you’re happy with the placement, your garland is complete! Have fun with the colours and creating fun decorations!
To see how I made the garland in video format, you can check out my Instagram Reel and/or on my TicTok!
Or check out my dried orange garland I made last year that turned out so amazing!

