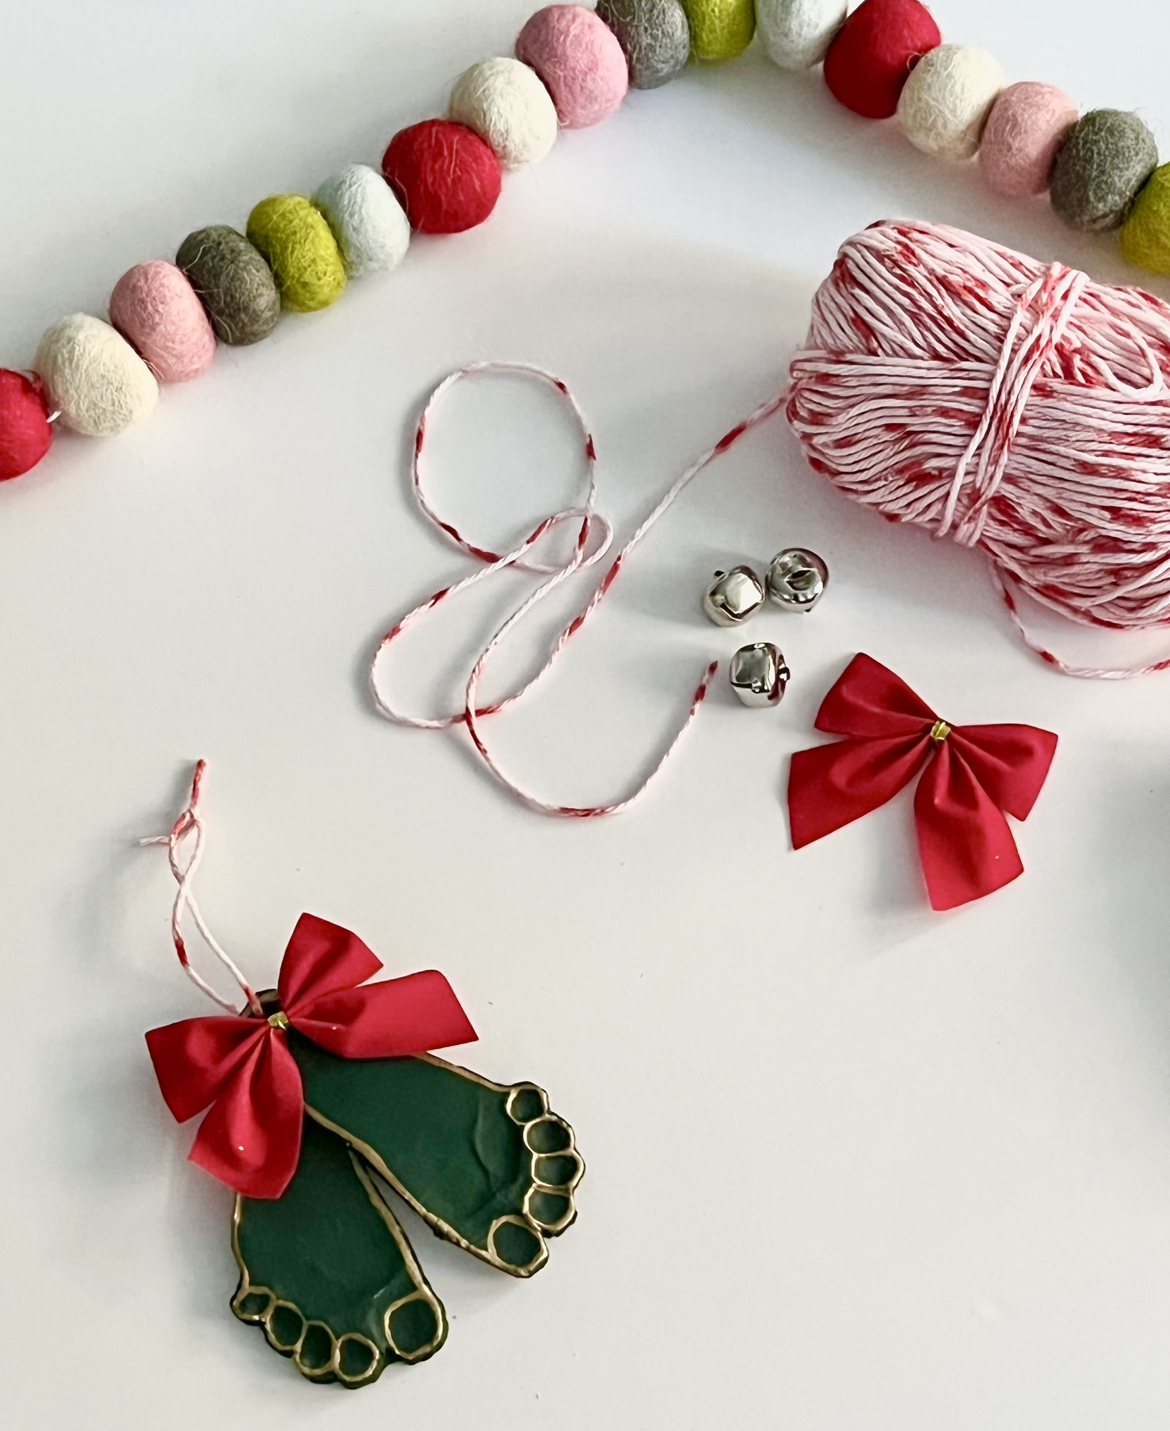
How is it that baby feet are the cutest things to ever exist? I could literally eat up my daughter’s feet and toes, I can never get enough of them. I kiss her little toes every single day and it just seemed incredibly fitting to make her cute little feet into a Christmas ornament.
If you saw my ghost handprint DIY I did for Halloween, it’s very similar to that process but keep reading below to learn how to make a baby feet mistletoe ornament!
Pin for Later:
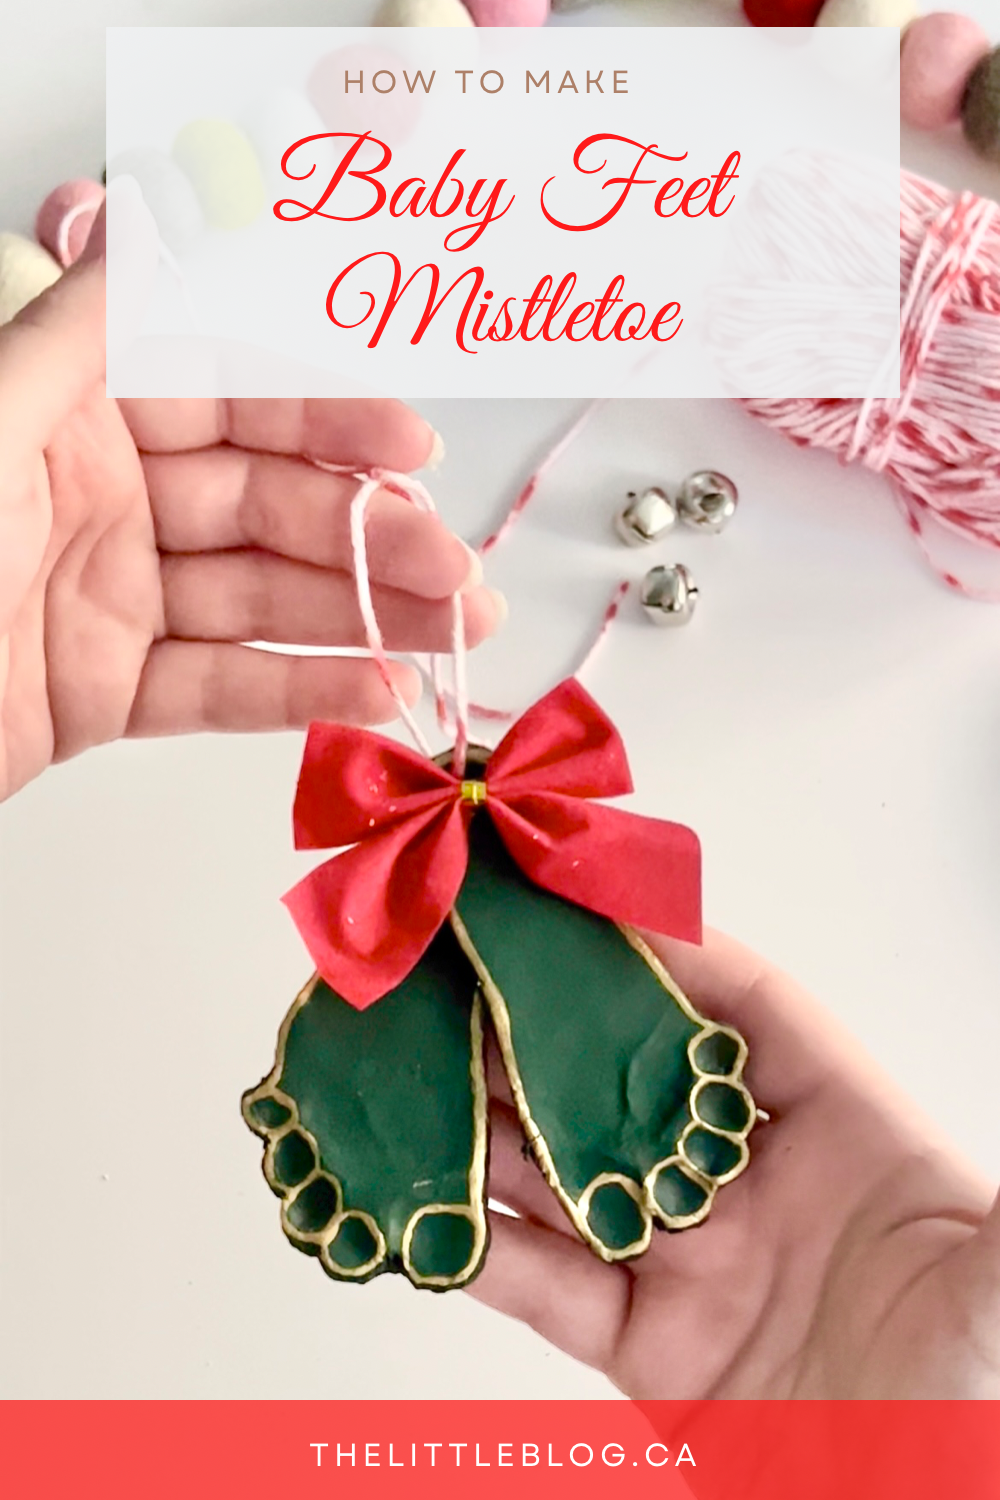
Here’s What You’ll Need
-Parchment paper
-Butter knife
-Straw
-Paint brush
–Ribbon and small bows
-Glue gun
Getting Started on the Mistletoe
You’ll need your parchment paper to lay your clay on a flat surface and to let it air dry on. I found using parchment paper helps the clay not stick to anything.
Roll two balls of the Crayola air dry clay into golf ball sizes and then flatten them onto the parchment paper. Once you have a round clay surface to work with that will be big enough for your baby’s foot, go ahead and press the baby’s foot into the clay. Don’t forget to press down on their toes to get those imprints as well.
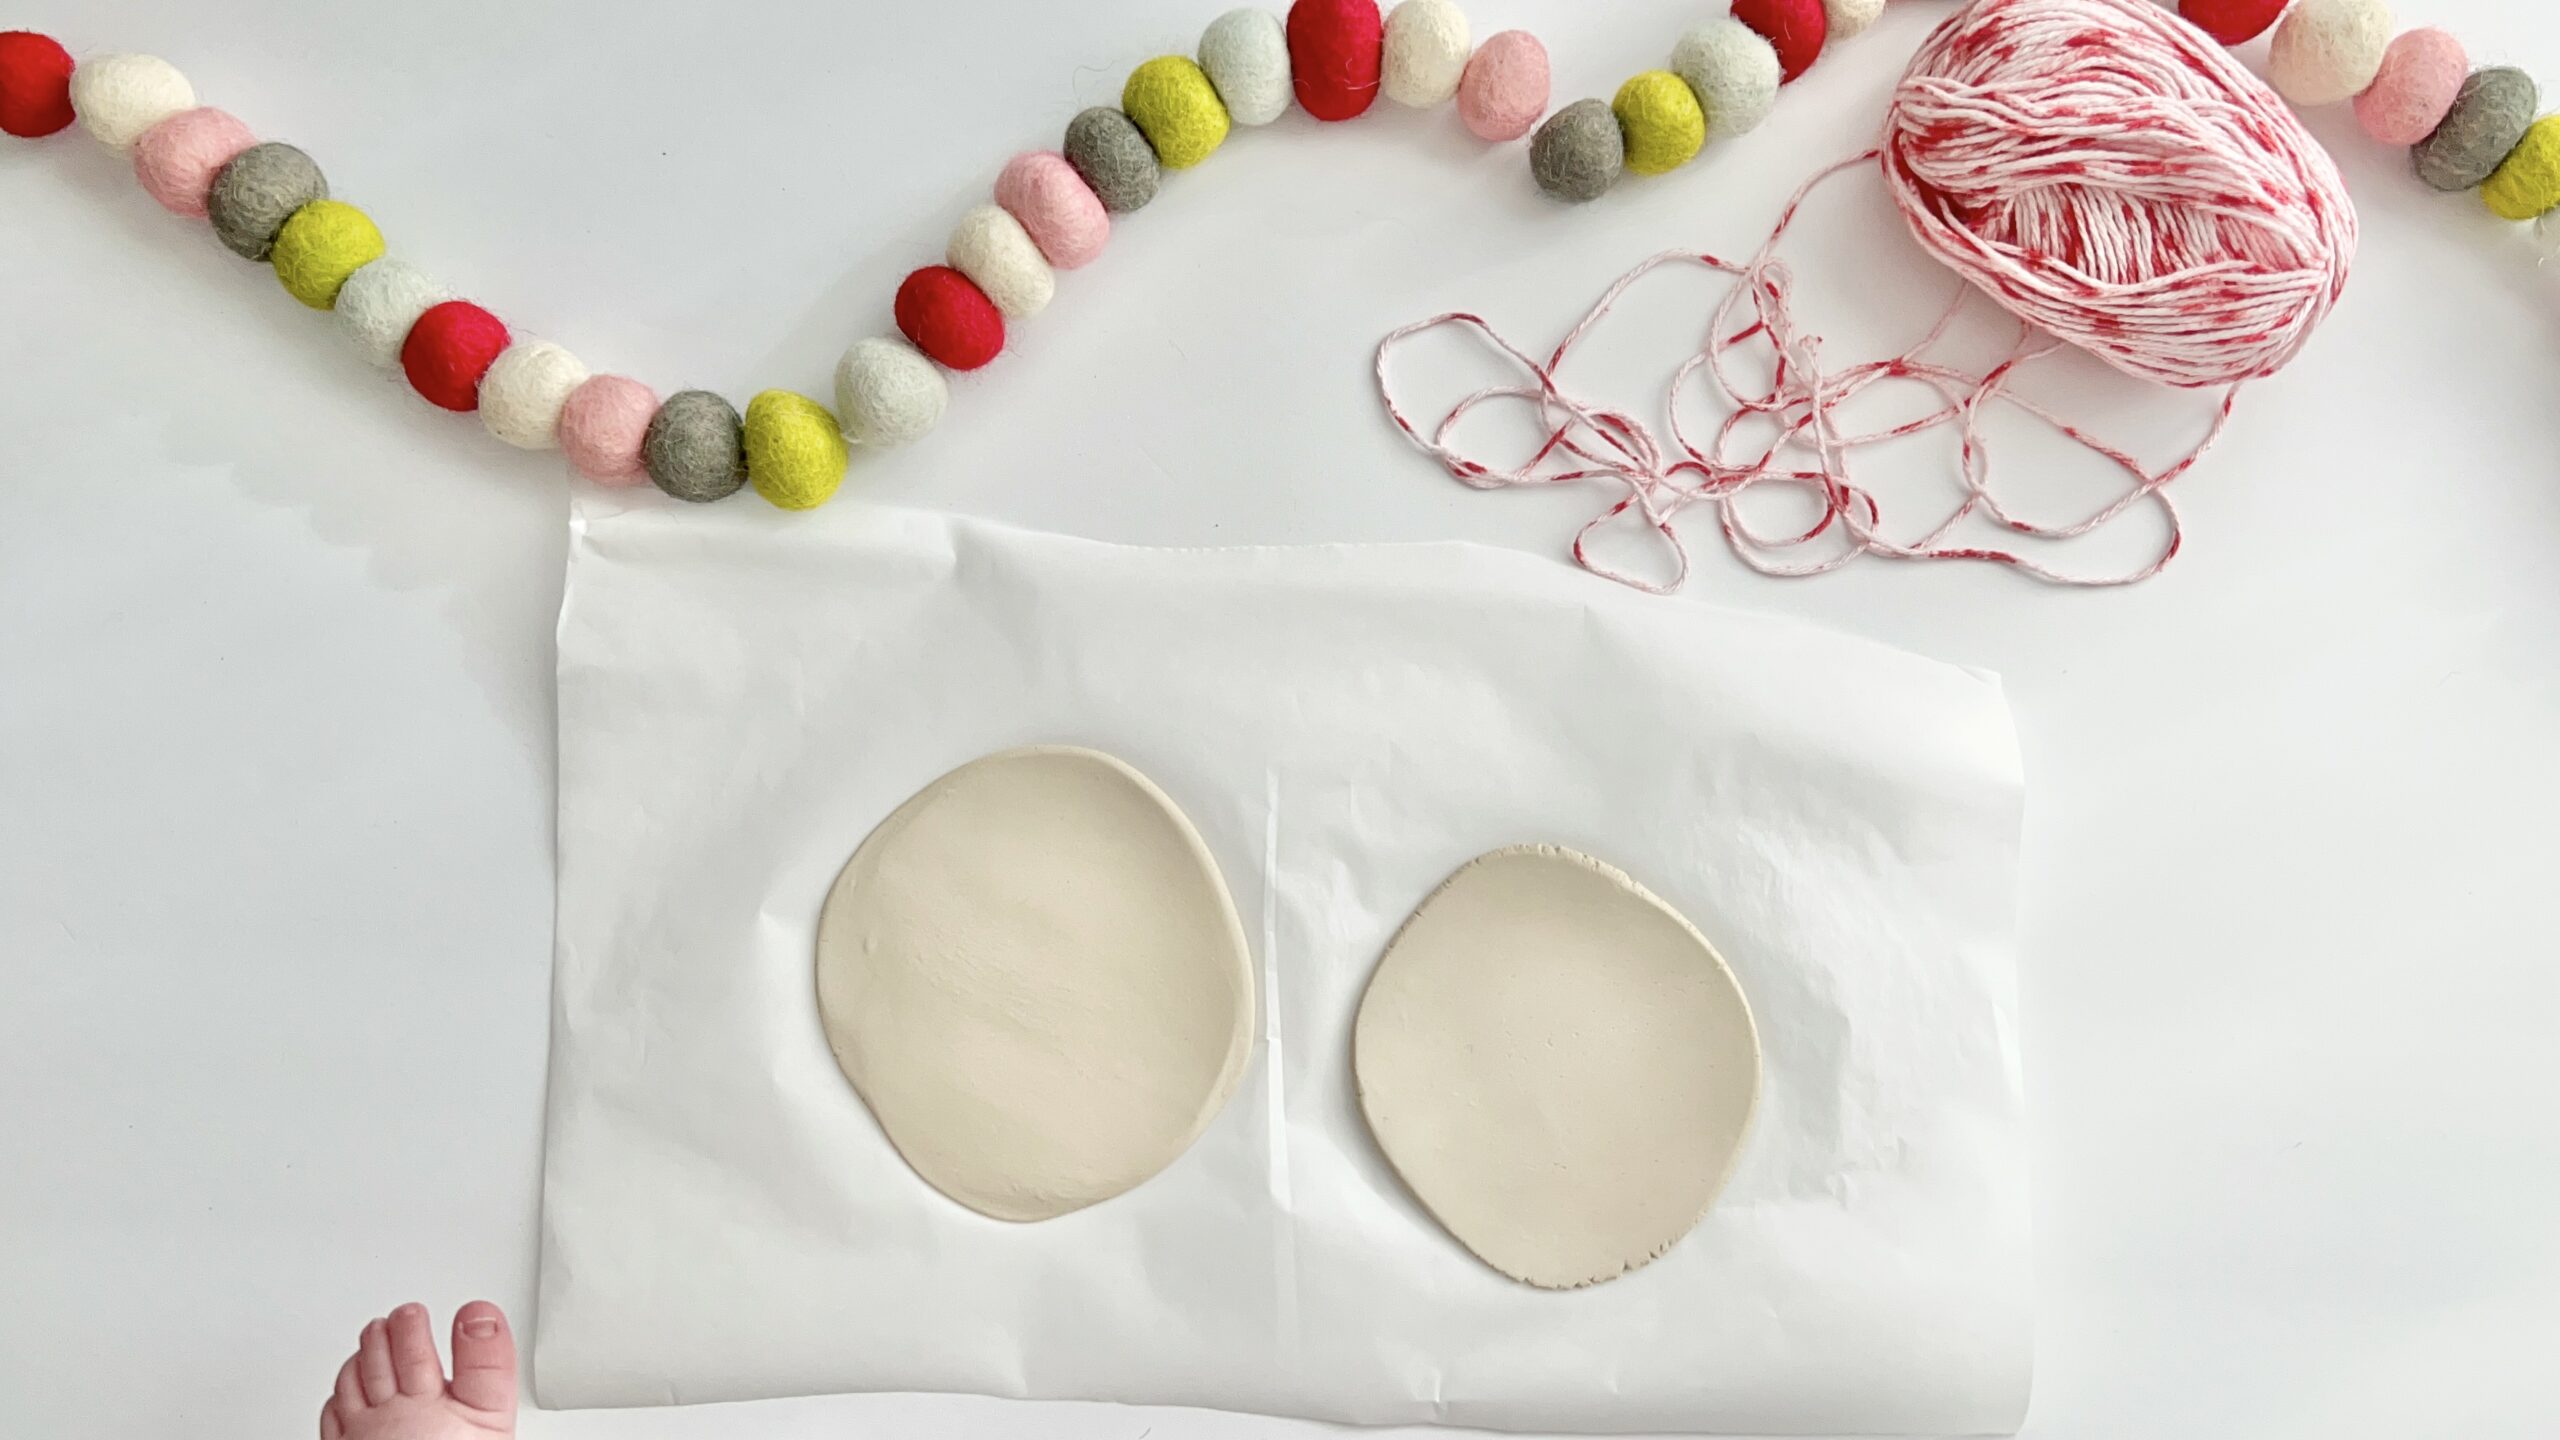
Once you’ve done one foot, repeat for the other. If the baby fidgets and wiggles their toes once in the clay, don’t be afraid to start again. The nice thing about this DIY is that it’s clay and not messy paint that causes so much stress if it doesn’t work the first time, lol. Roll another ball and begin again.
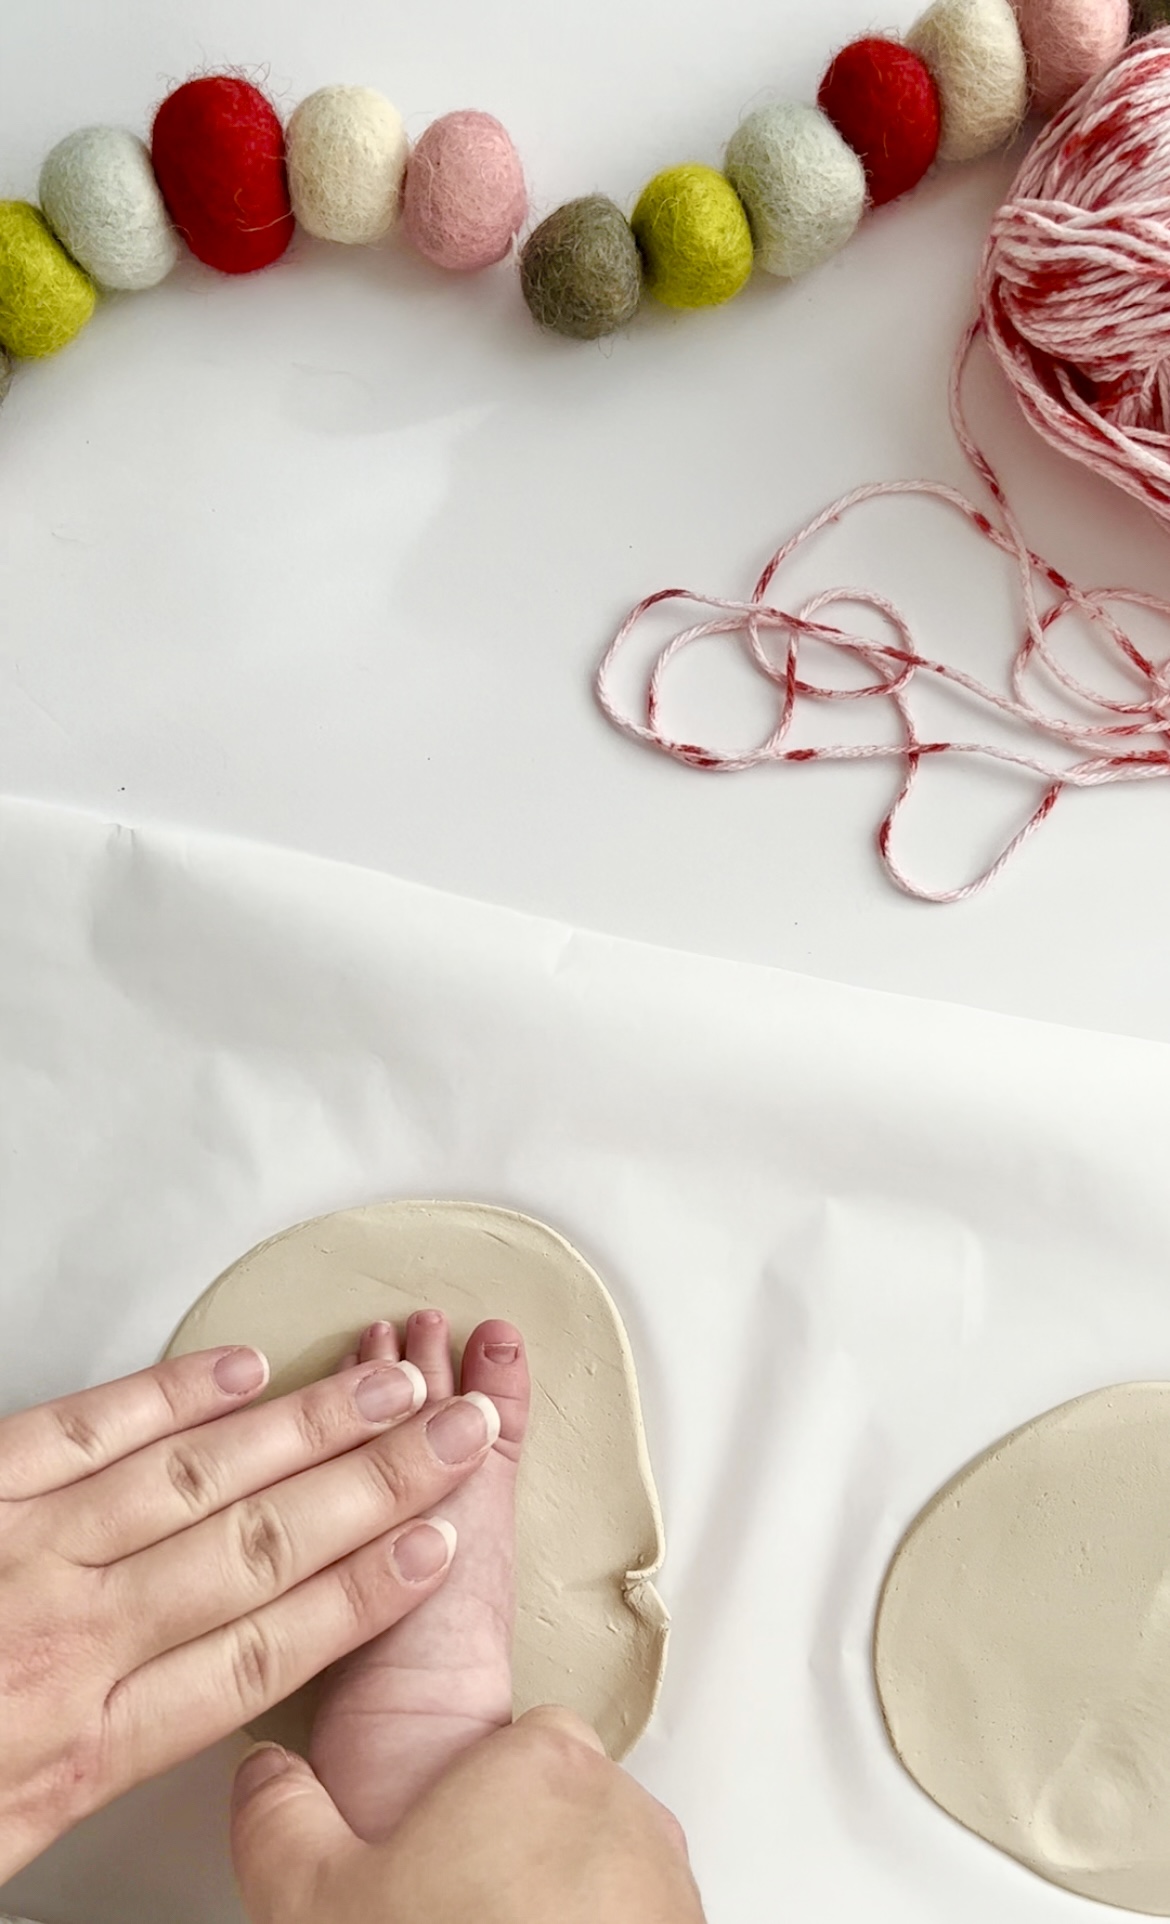
After both feet have been imprinted, slowly trace out the feet with the butter knife. Smooth the edges of the feet once the access clay has been removed so it has a nice, soft finish.
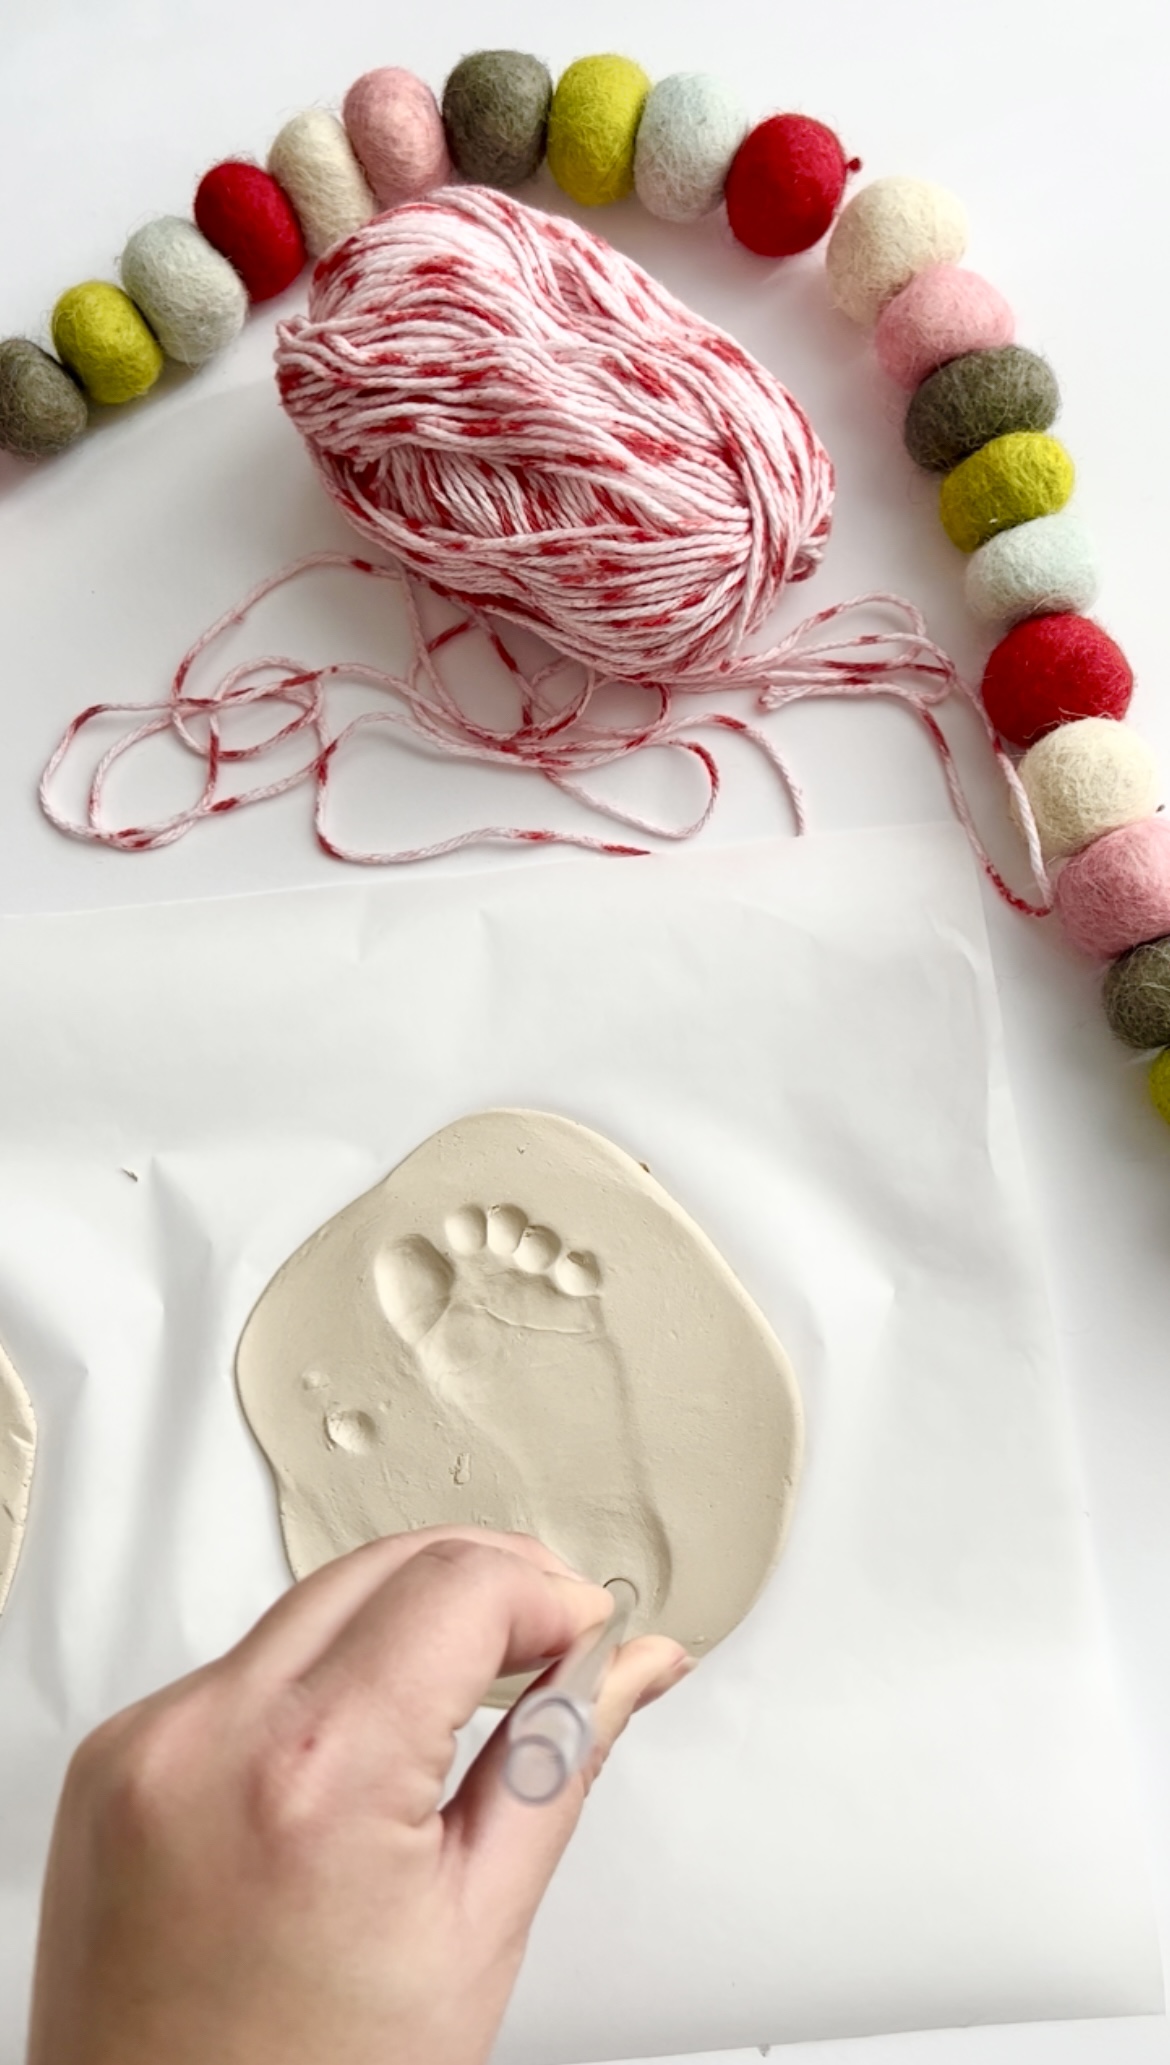
With the straw, poke one hole into each heel so that you can run a ribbon through at the end.
Place both feet aside to let them air dry for about 72 hours.
Paint Your Baby Mistletoe
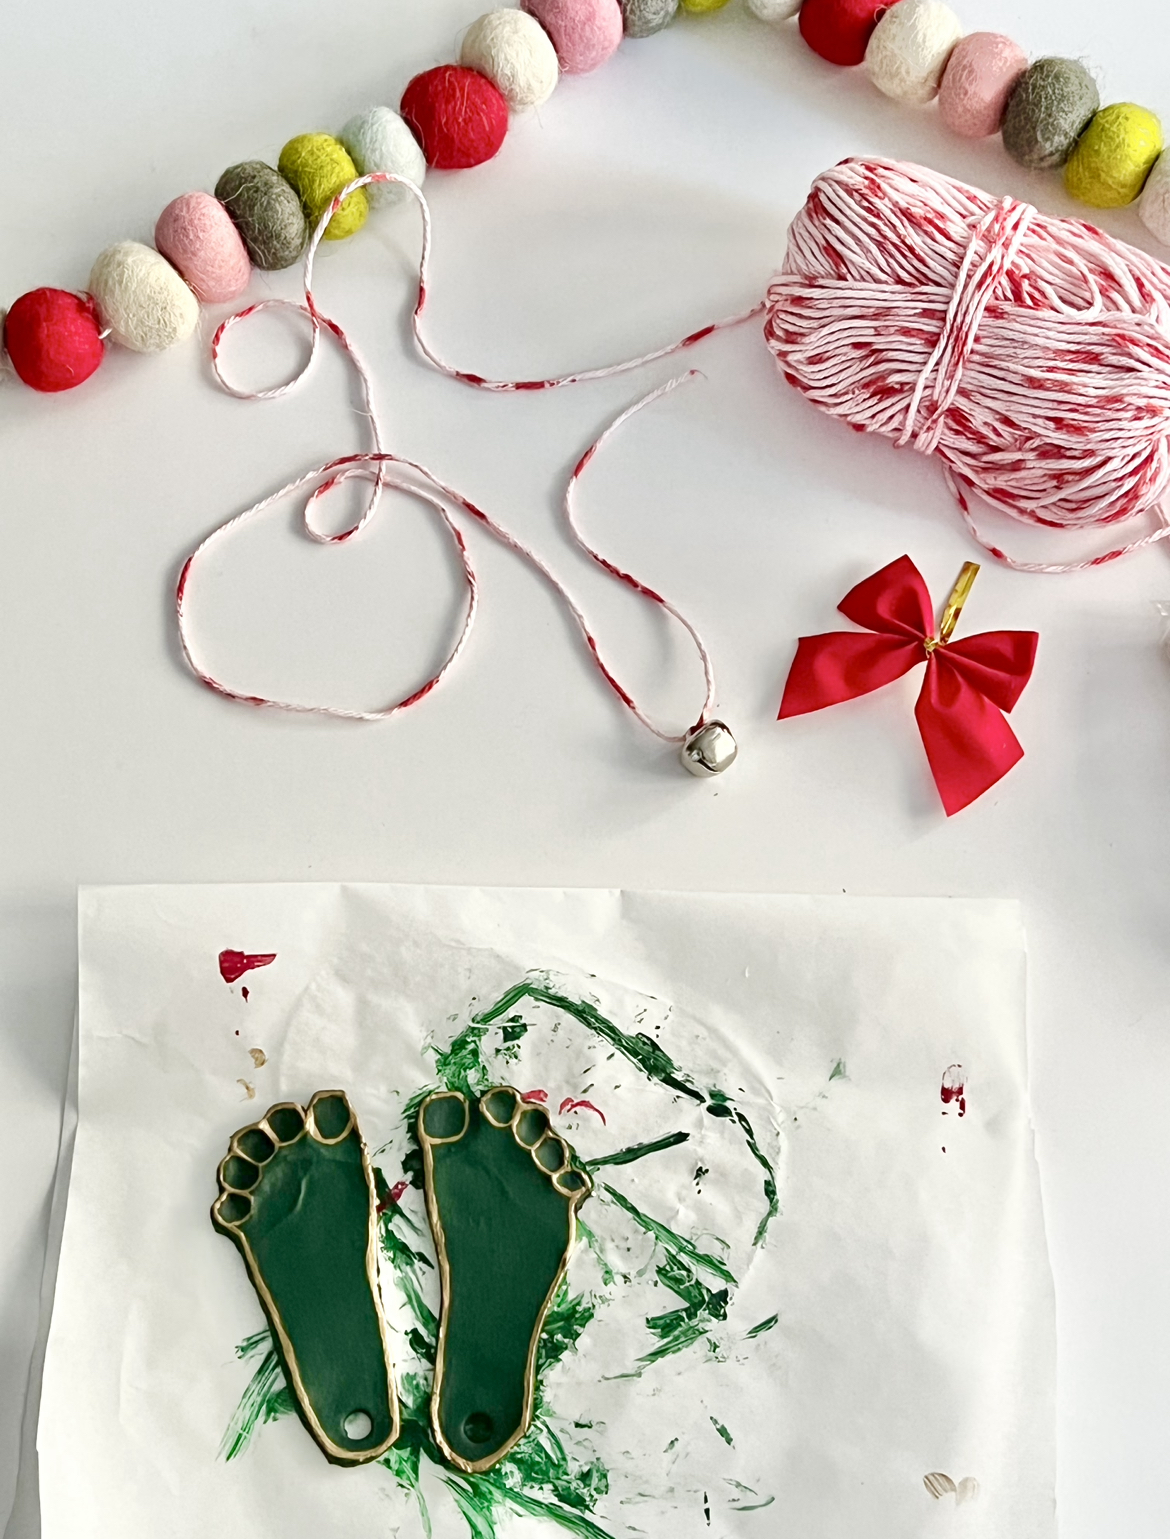
After the cute little feet have completely dried, it’s time to paint them. Take your green paint and cover the whole feet. Let the first coat dry and apply a second coat if you think they need it.
Once the green paint has complexly dried, take the gold paint and carefully trace the outline of the feet and toes. This just allows the little feet to “pop” and stand out on the tree more. Place aside again to allow paint to dry. I also tested one extra foot with painting the toes red to make it like actual mistletoe but it was giving Frankenstein vibes lol, so I stuck with painting them a solid green.


Put Your Baby Mistletoe Together
Take your baby’s two clay feet and place the heels on top of each other aligning the small little holes you made. When you’re happy with how you want to space them, glue them together with your glue gun.
Cut a small piece of the ribbon you chose and tie it together, making a bow. Glue down your smaller bow and little bells at the top of the heels. Once you’ve done that, you’re done!
This cute little keepsake DIY is a great gift for the grandparents for baby’s first Christmas! Put them in some tissue paper and place them inside a little box and they’re good to go!


Auwww… that’s a very pretty mistletoe! I would to try this DIY. Thank you for sharing.