There’s something about a beautifully wrapped gift that I just love. I always take in when the wrapping has extra thought in it – not sure where this love came from but I do appreciate those things. ‘Cause you know, the little things, right?
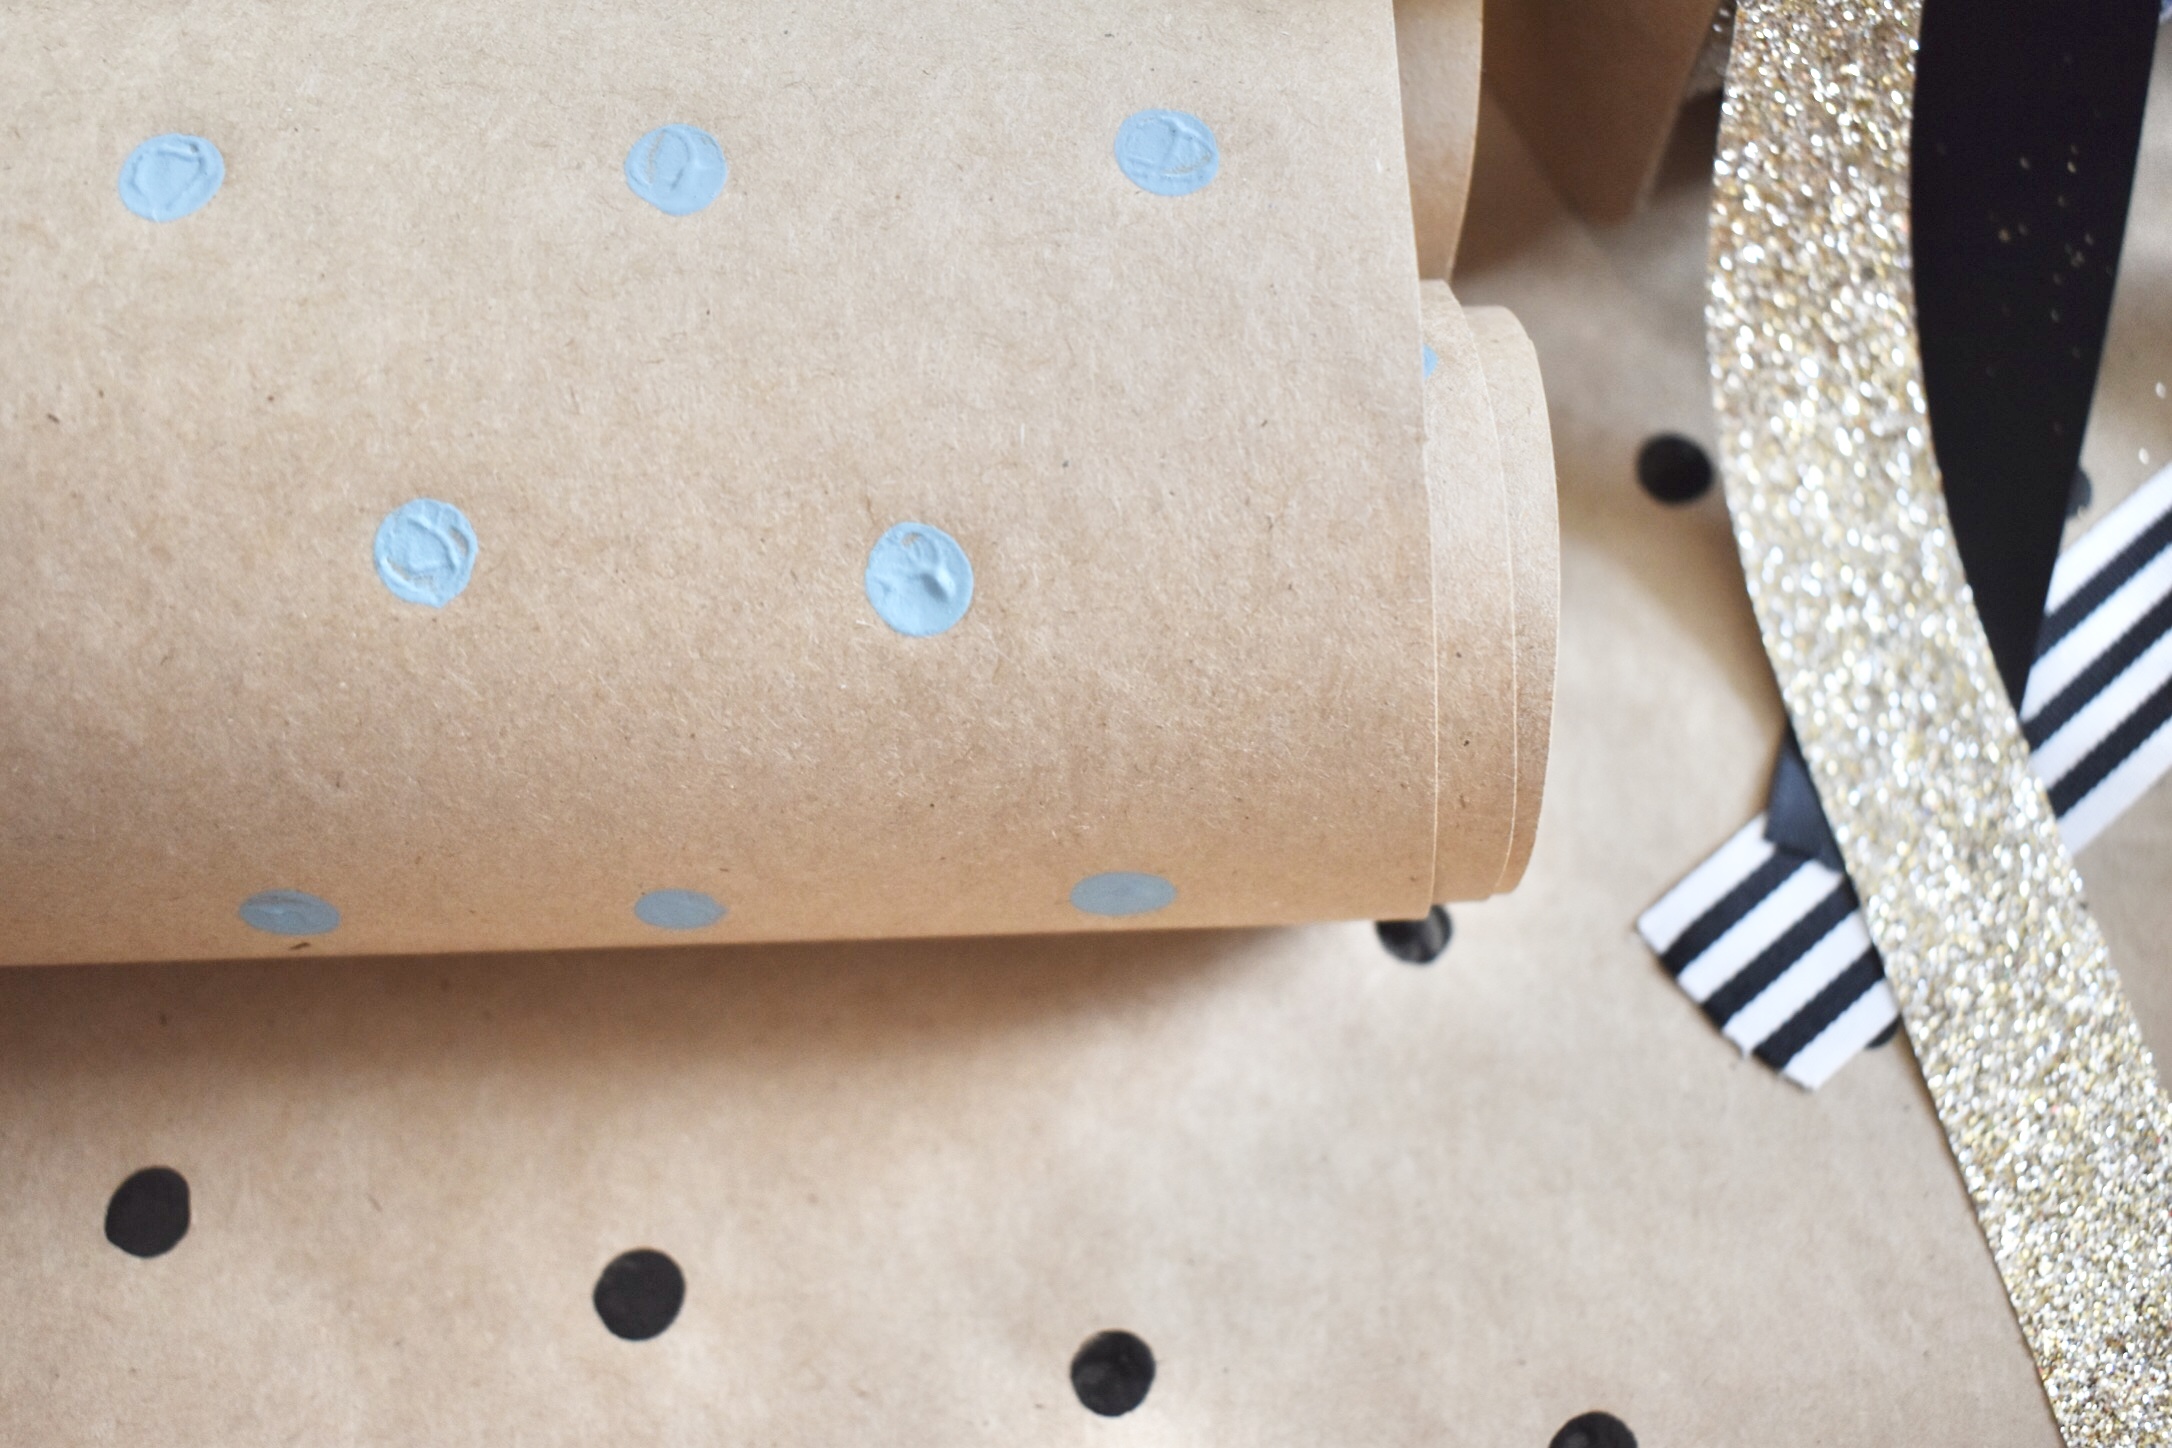
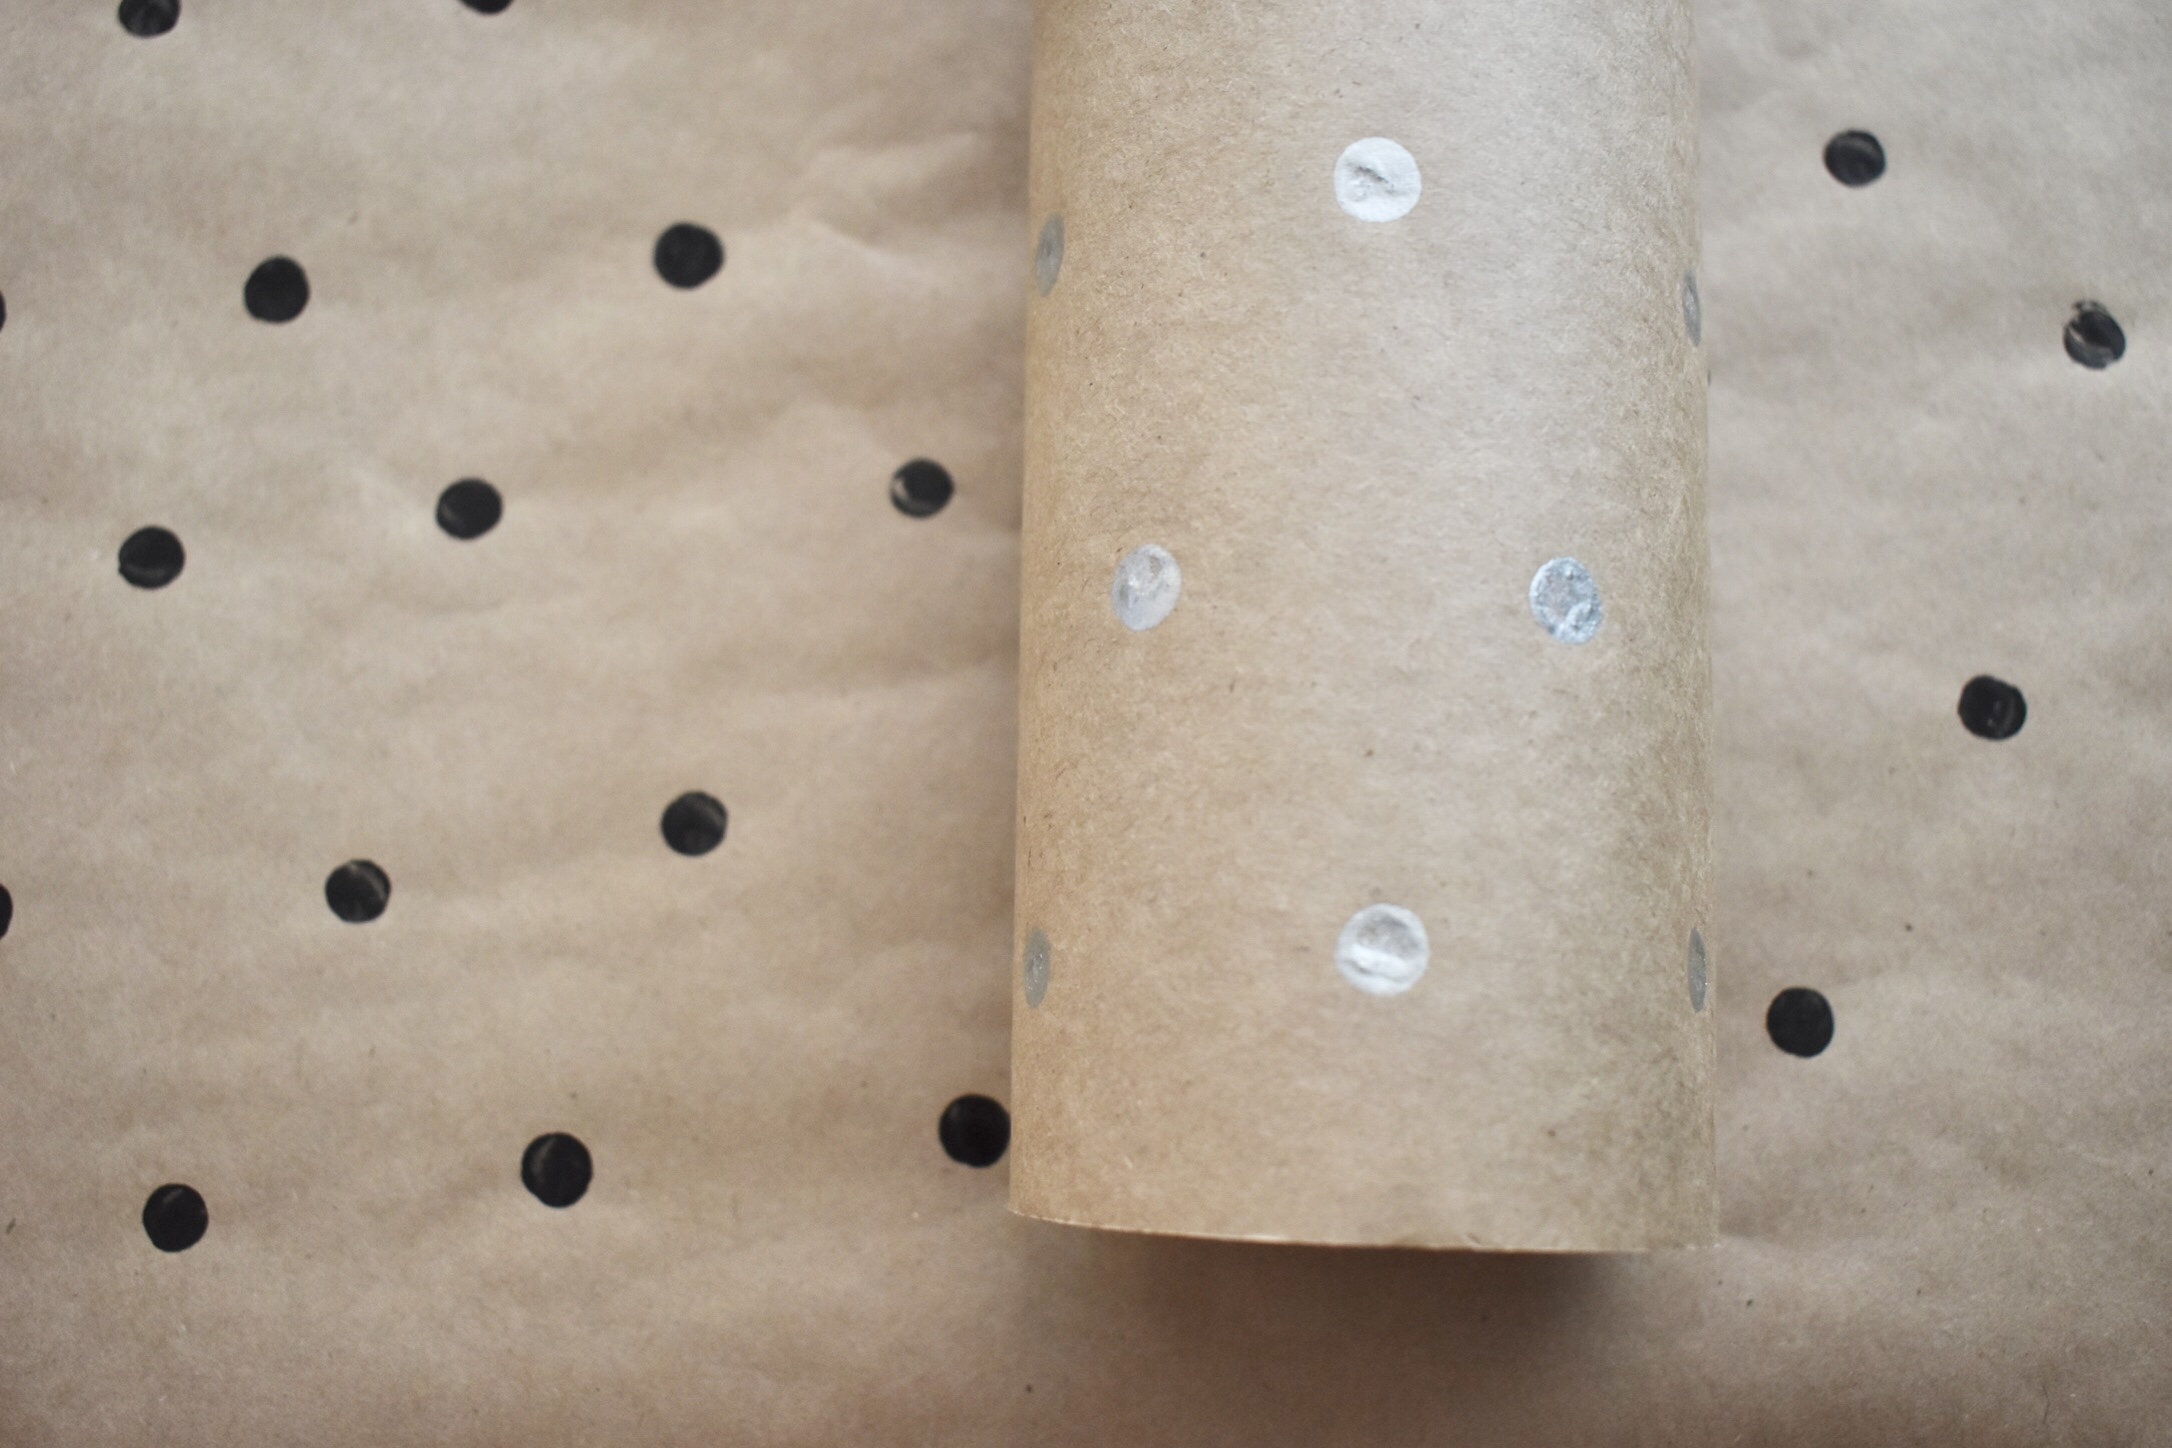
This year, I wanted to create my own gift wrap. Last year I searched high and low to find kraft paper with polka dots and maybe I was just looking in the wrong places, but I couldn’t find it anywhere. So, thinking back to my elementary school days where we made our own Christmas wrapping paper, I thought, hey, why not give that a go this year!
Making this wrapping paper was super easy and very affordable – unlike the roll you get for $9.99 that you can wrap two things in. Ugh.
Let’s get started, shall we!
What You’ll Need
-Kraft paper (you can purchase a roll at the dollarstore for super cheap!)
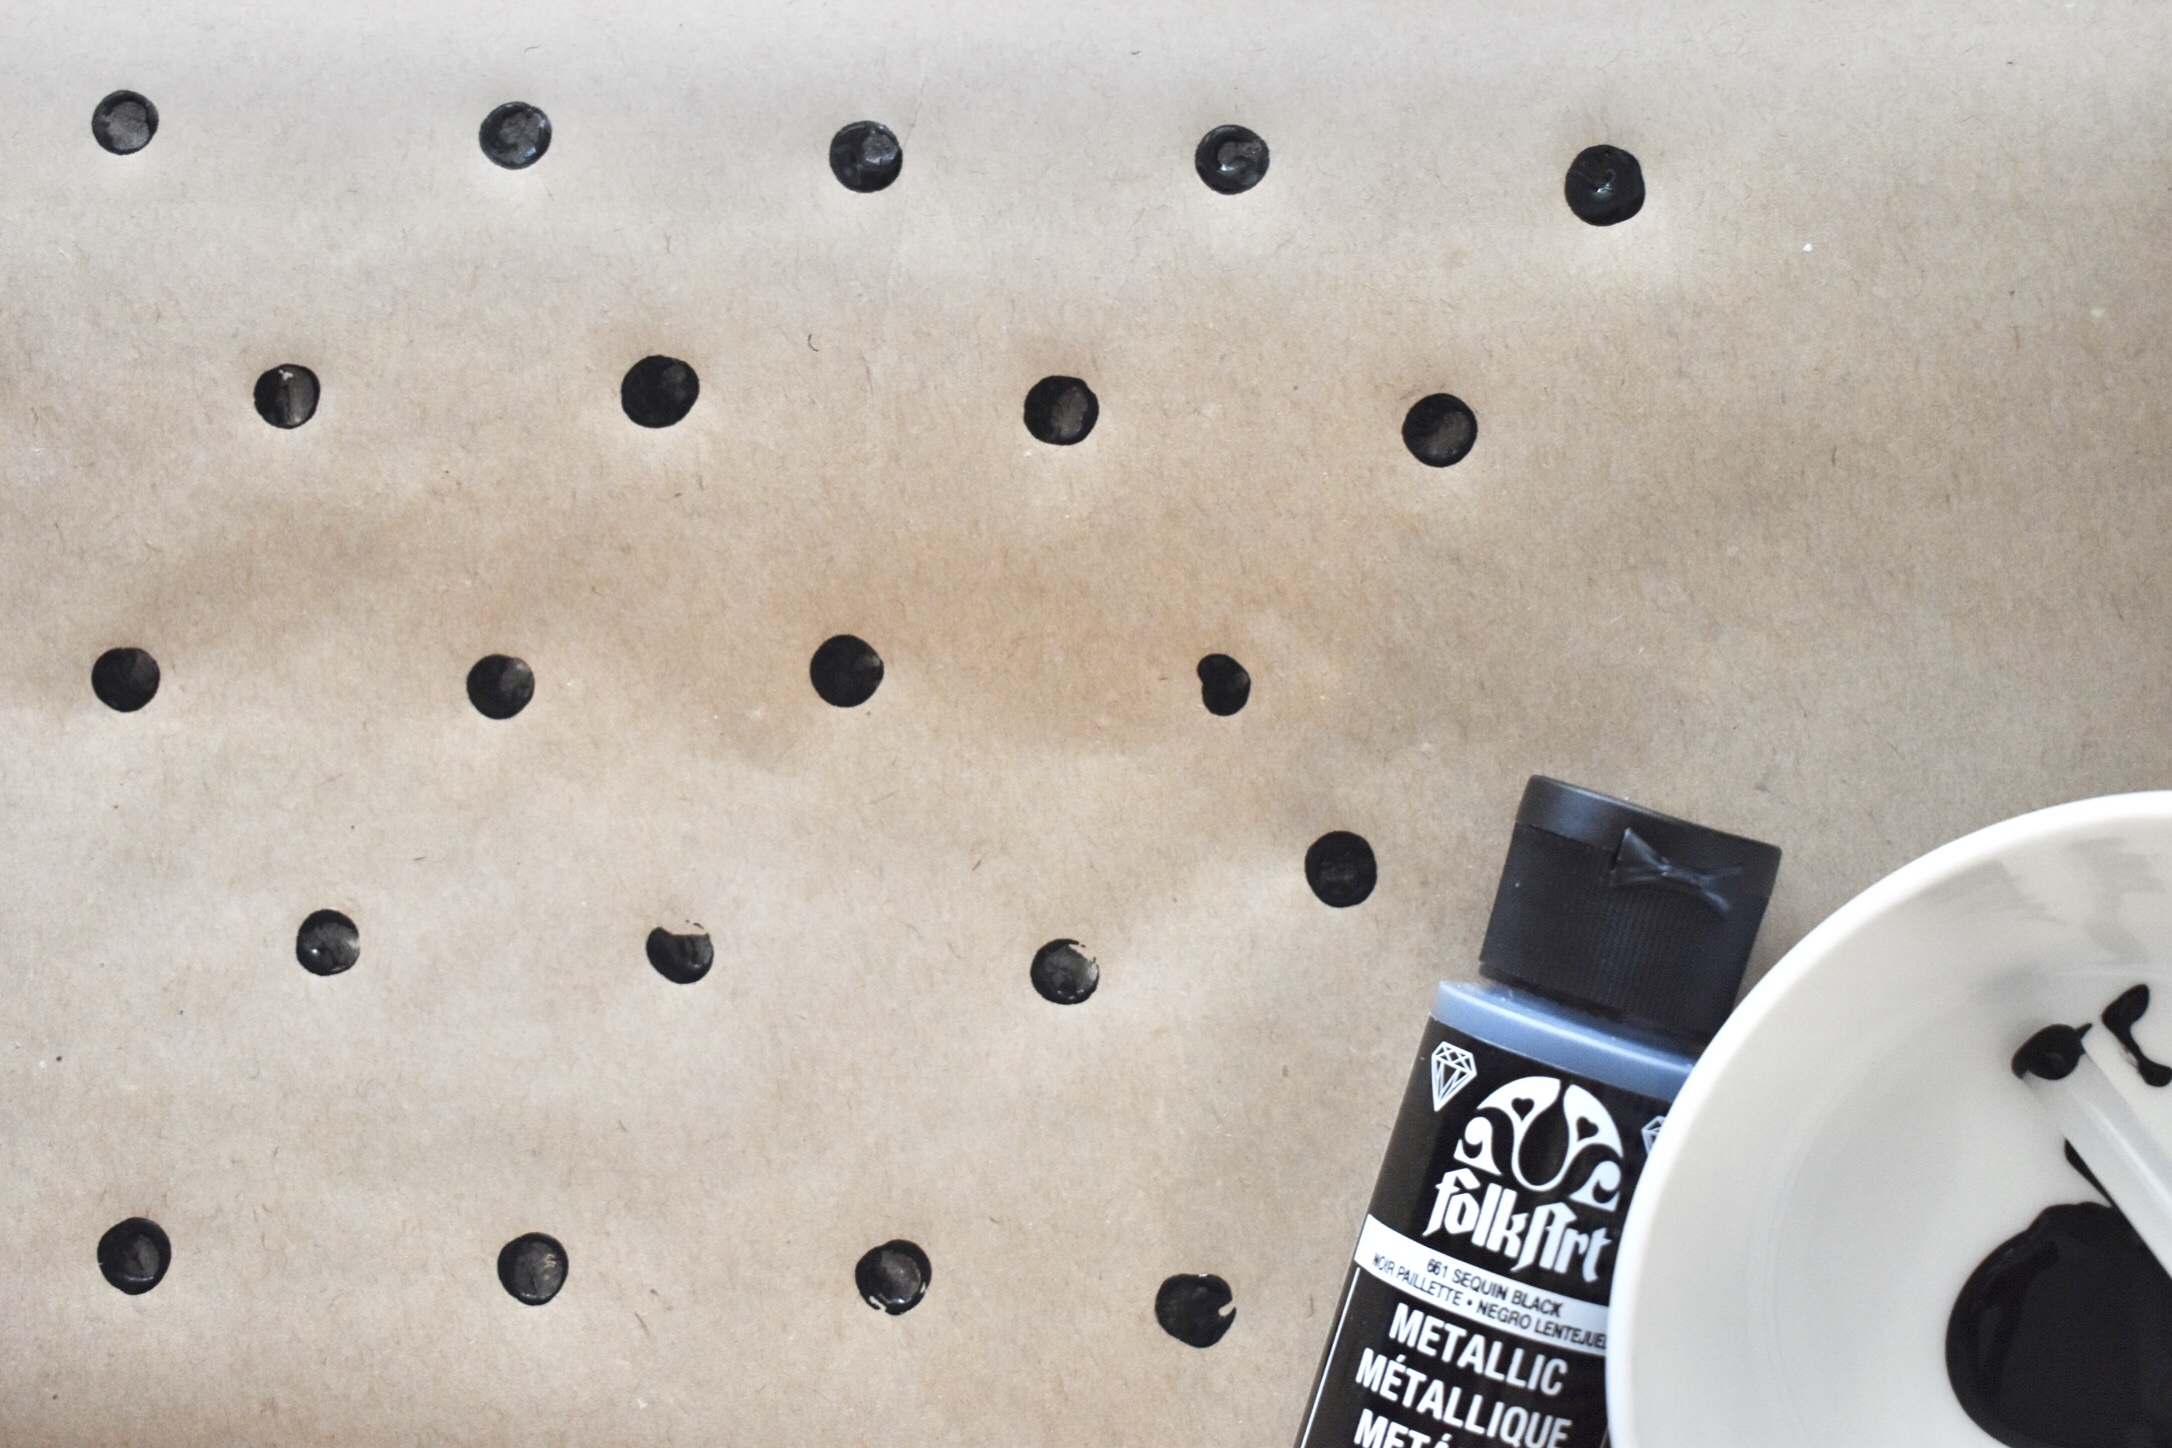
-Paint (I used acrylic and you can get some on Amazon)
-A cookie cutter or any shape that you wish to have on your wrapping paper. I wanted polka dots so actually used a glue stick because it was the perfect sized dot!
-Scissors
How To Make Your Paper
I cut various sizes of paper and worked with that. You can always do a whole roll but I found working with smaller pieces was easier. Also, my puzzle is currently taking up my whole kitchen table so I actually had no where else to let the paper dry, lol!
Lay your paper flat and just start dotting your page! It’s honestly that easy, there’s really nothing to it. I found it very therapeutic to be honest – the rhythm of dotting and having music playing in the background was super relaxing for me.


For the dots, I made them about an inch apart and just kept going down the paper and alternated the dots on the next line to allow for a more spaced look and not have them so symmetrical.
They dried super fast and before I knew it, I was wrapping my gifts by the afternoon!


Have you ever made your own wrapping paper before?
And as always, in case you missed it, you can find yesterday’s post here!