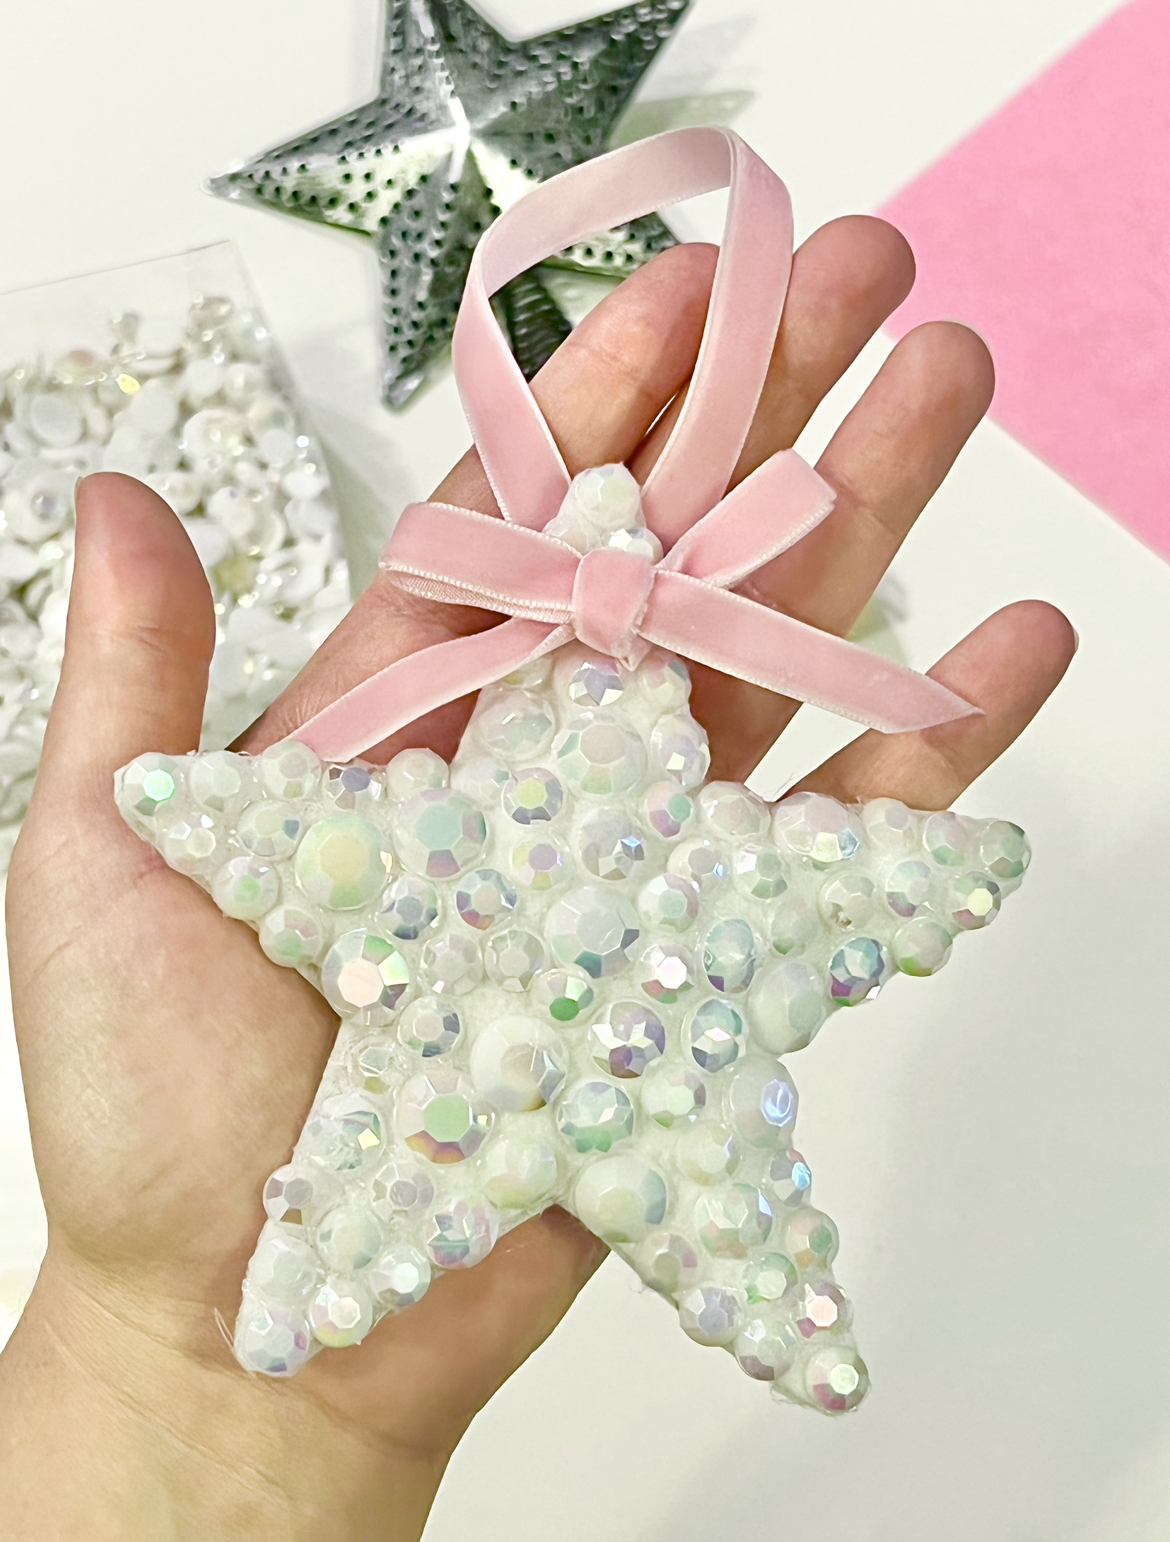
How cute is this little star ornament I made for my daughter’s Christmas tree? I absolutely love how it came out and such an easy DIY it was! Keep reading to see how I put it together.
Pin for Later:
What You Need:
-Felt
-Jewels (I actually used the same ones I had from when I made our Christmas cards)
-Scissors
-Hot glue gun
-Ribbon
How to Make a Stuffed Star Ornament
Gather all your items and find a shape that you’d like your ornament to be, it doesn’t have to be a star. I used a small star tree topper to trace on the felt and it worked perfectly. Trace and cut out your shape and then hot glue the edges together leaving a small opening.
I didn’t have cotton balls to stuff the ornament so I actually used the scraps of what I had left from cutting out the star and it worked perfectly! Also a great way to use what you have and not purchase more items for the DIY. Stuff the shape through the opening you have and once filled, hot glue it together so the whole shape is completely sealed.


Take your jewels and begin gluing them to your shape. I would place them down to check for the best fit and then glue them down to make sure I had as little gaps between the jewels as possible. Do this until your whole shape is covered.
I originally was just going to put ribbon on the back to allow it to hang on a tree, but then also added a small bow to tie it all together. Glue the ribbon to the back and bow to the front.


And that’s it! Super, super easy and it’s an adorable little ornament to add to her tree.
Check out my Reel on Instagram on how I made it!
